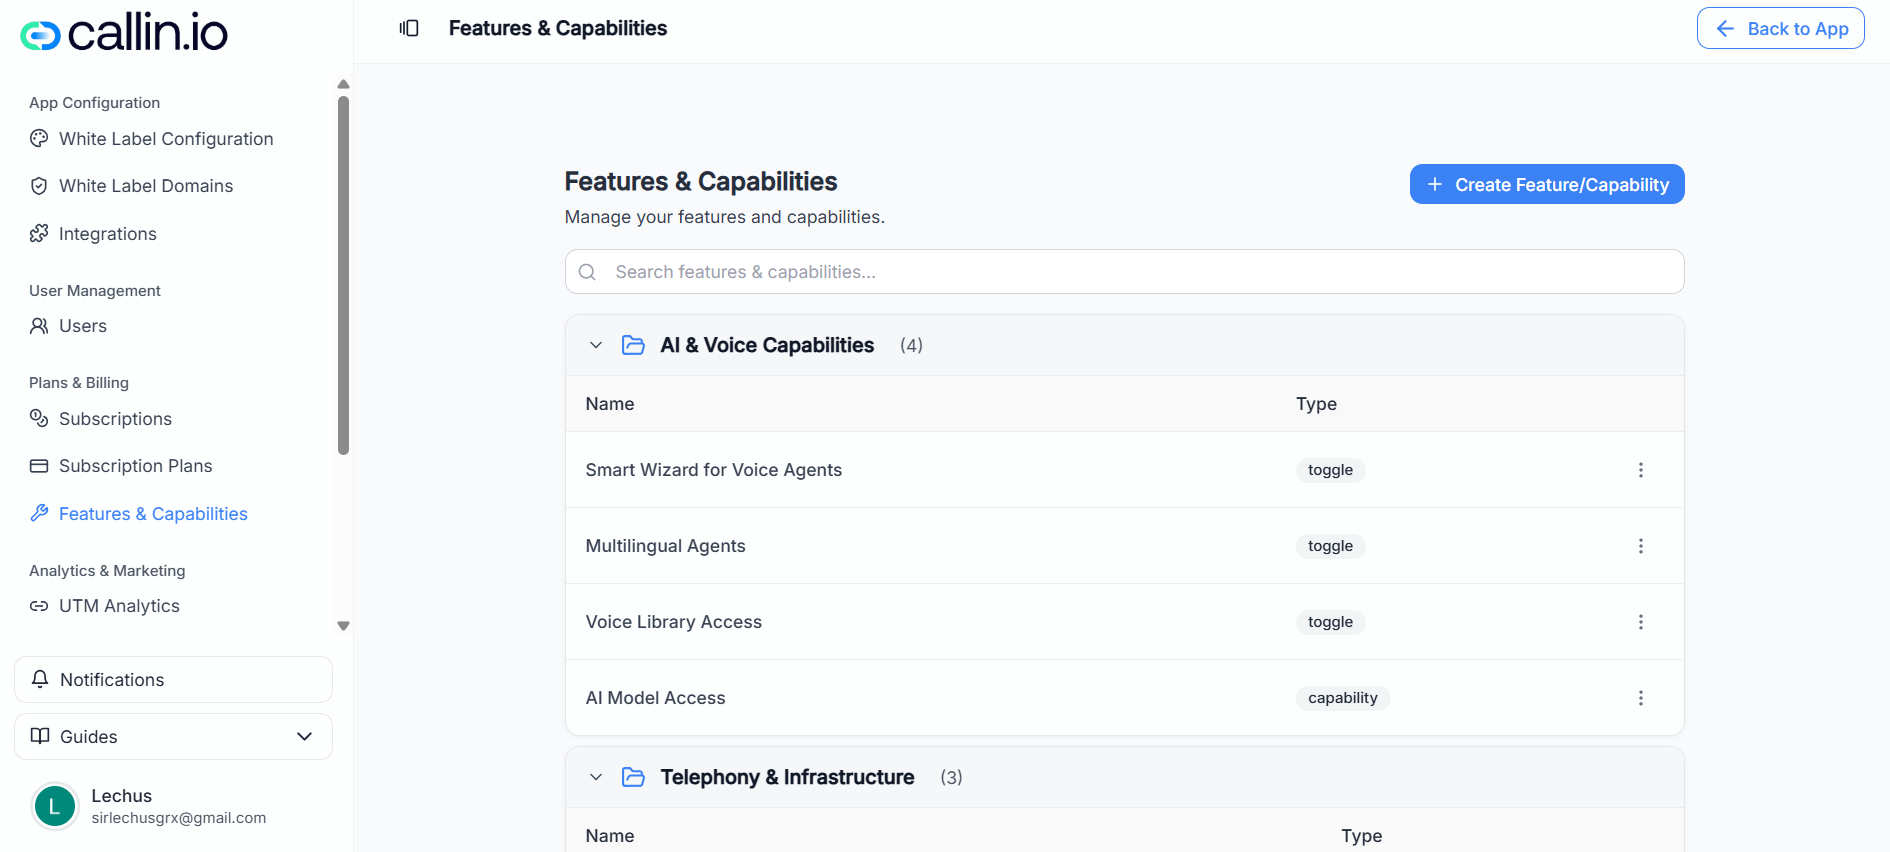
Screenshot: the Features & Capabilities page where you can search existing items or create a new Feature/Capability.
> **Important:** The exact URL can vary depending on your workspace setup. If the link doesn’t open, use the left sidebar: **Plans & Billing → Features & Capabilities**. ## How features are used in Subscription Plans When you create or edit a plan, you’ll reach a step called **Features** (the wording can vary by account). That step is where you assign values for the features you defined here. So the workflow is: 1. Create a feature (here) 2. Assign a value to that feature inside each plan (in Subscription Plans) 3. The plan’s value becomes what sub-accounts receive when they use that plan ## Create a Feature/Capability Click **Create Feature/Capability** and fill in these fields. ### Name A short label that will be shown inside plan configuration. Good examples: * **Minutes per month** * **Call recording** * **Voice selection** Bad examples (too vague): * **Minutes** * **Feature 1** * **Access** > **Tip:** Use names that read like a benefit or a clear rule. “Minutes per month” is clearer than “Minutes”. ### Description Optional, but recommended. Write a short sentence so your team knows exactly what this feature controls. Example: * “Monthly minutes included in the plan. Extra usage is billed separately.” ### How do plans grant this feature? This is the most important choice. It defines what kind of value plans will set. #### On / Off (toggle) Use when it’s simply enabled or disabled. Example: * Feature: **Call recording** * Starter plan: **Off** * Pro plan: **On** Best for: * Add-ons like “Call recording”, “Remove branding”, “Priority support” (if your setup includes it) #### Usage limit (limit) Use when the plan should set a numeric value, typically per billing period. Example: * Feature: **Minutes per month** * Starter plan: **400** * Pro plan: **1,000** Best for: * Minutes, seats, number of agents, number of phone numbers, or any “X per month” style rule (depending on what your account supports) #### Access with options (capability) Use when the plan should unlock one of several options. Example: * Feature: **Voice selection** * Starter plan: **Basic voices** * Pro plan: **Premium voices** Best for: * “Choose one of these packs” / “Choose a level” type entitlements > **Common mistake:** Picking **toggle** for something that should be a number (like minutes). If it can vary by plan, it usually belongs as a **limit**. ### Category Categories help you keep plan configuration tidy. When plans display features, they’re often grouped by category. Practical categories: * **Limits** (minutes, seats, usage caps) * **Add-ons** (recording, branded portal, etc.) * **Capabilities** (voice packs, routing modes, integrations—depending on what you offer) > **Tip:** Keep categories consistent across features. If you create “Limit” and “Limits” you’ll end up with messy grouping. ## Practical example (realistic setup) Imagine you sell two tiers to your sub-accounts: * **Starter**: 400 minutes/month for a fixed price * **Pro**: 1,000 minutes/month + call recording Create these features in **Features & Capabilities**: 1. **Minutes per month** → **Usage limit (limit)**\ Description: “Monthly minutes included in the plan.” 2. **Call recording** → **On / Off (toggle)**\ Description: “Enables call recording for calls handled by the assistant.” Then, in **Subscription Plans**: * Starter plan: * Minutes per month = **400** * Call recording = **Off** * Pro plan: * Minutes per month = **1,000** * Call recording = **On** This way, sub-accounts immediately understand what changes between tiers, and your pricing becomes easier to justify. ## Edit an existing Feature/Capability From the list, open the feature to edit its: * **Name** and **Description** * Feature type (toggle / limit / capability) * **Category** > **Important:** Changing a feature’s type after it’s used in plans can impact how plans store or display that value. What happens can vary depending on your account setup—if you’re unsure, create a new feature and migrate plans to it.