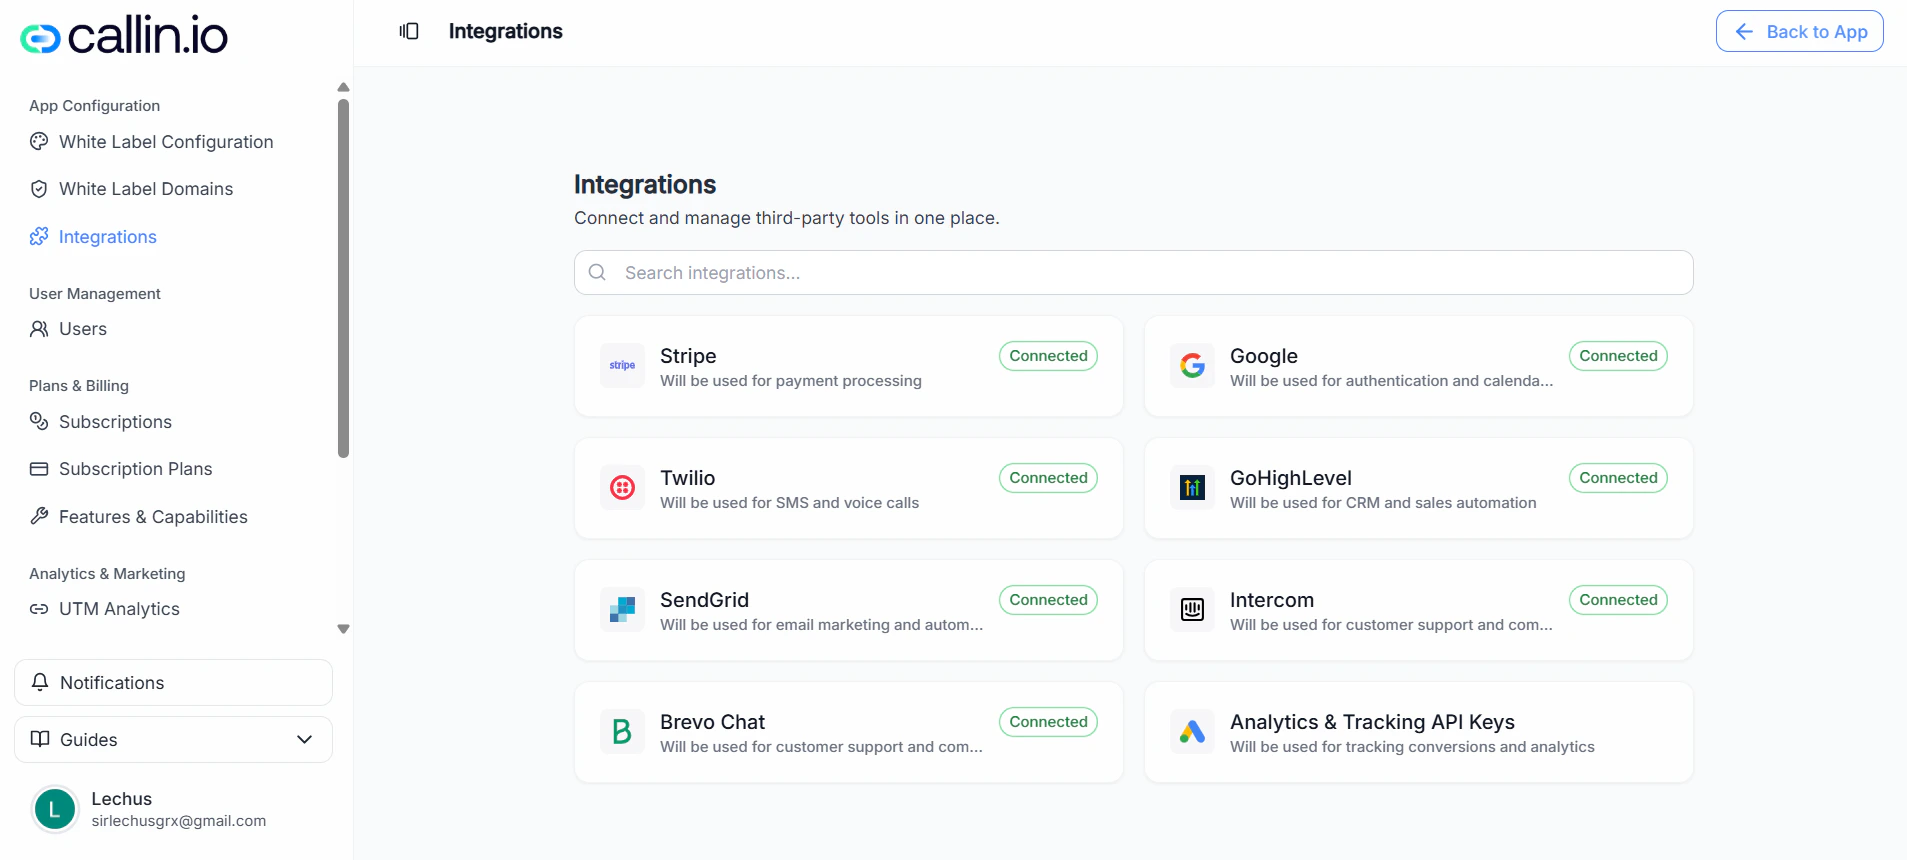
Screenshot: the Integrations overview. Each card opens a setup panel with the exact fields you must fill in.
> **Important:** Card badges like **Connected** or **Required** reflect your current setup and can vary depending on your account and plan. ## Before you connect anything A few habits make integrations smoother (and safer): * **Use the right admin account** in each provider (Stripe, Twilio, etc.) so you can access keys and settings. * **Store keys securely** (treat them like passwords). * **Limit access** to people who need it. Don’t paste keys into shared docs or chats. > **Tip:** If an integration doesn’t work immediately, double-check for extra spaces at the beginning/end of a key before trying anything else. ## How connecting an integration works Most integrations follow the same pattern: 1. Click an integration card (for example **Twilio** or **SendGrid**). 2. A side panel opens with required fields (marked with `*`). 3. Copy the values from the provider dashboard. 4. Paste them into Callin and click **Save**. ## Stripe **What it’s for:** Stripe is used for **payment processing**. This is the integration that typically enables you to run a real subscription business: accepting payments, charging customers, and managing subscriptions. **When you need it:** If you plan to create paid plans and charge customers (monthly, yearly, etc.), Stripe is one of the first integrations to set up. ### What you’ll need (as shown in the panel) * **Secret Key**\* * **Webhook Secret**\* * **Webhook Secret Connect**\* * **Client ID**\*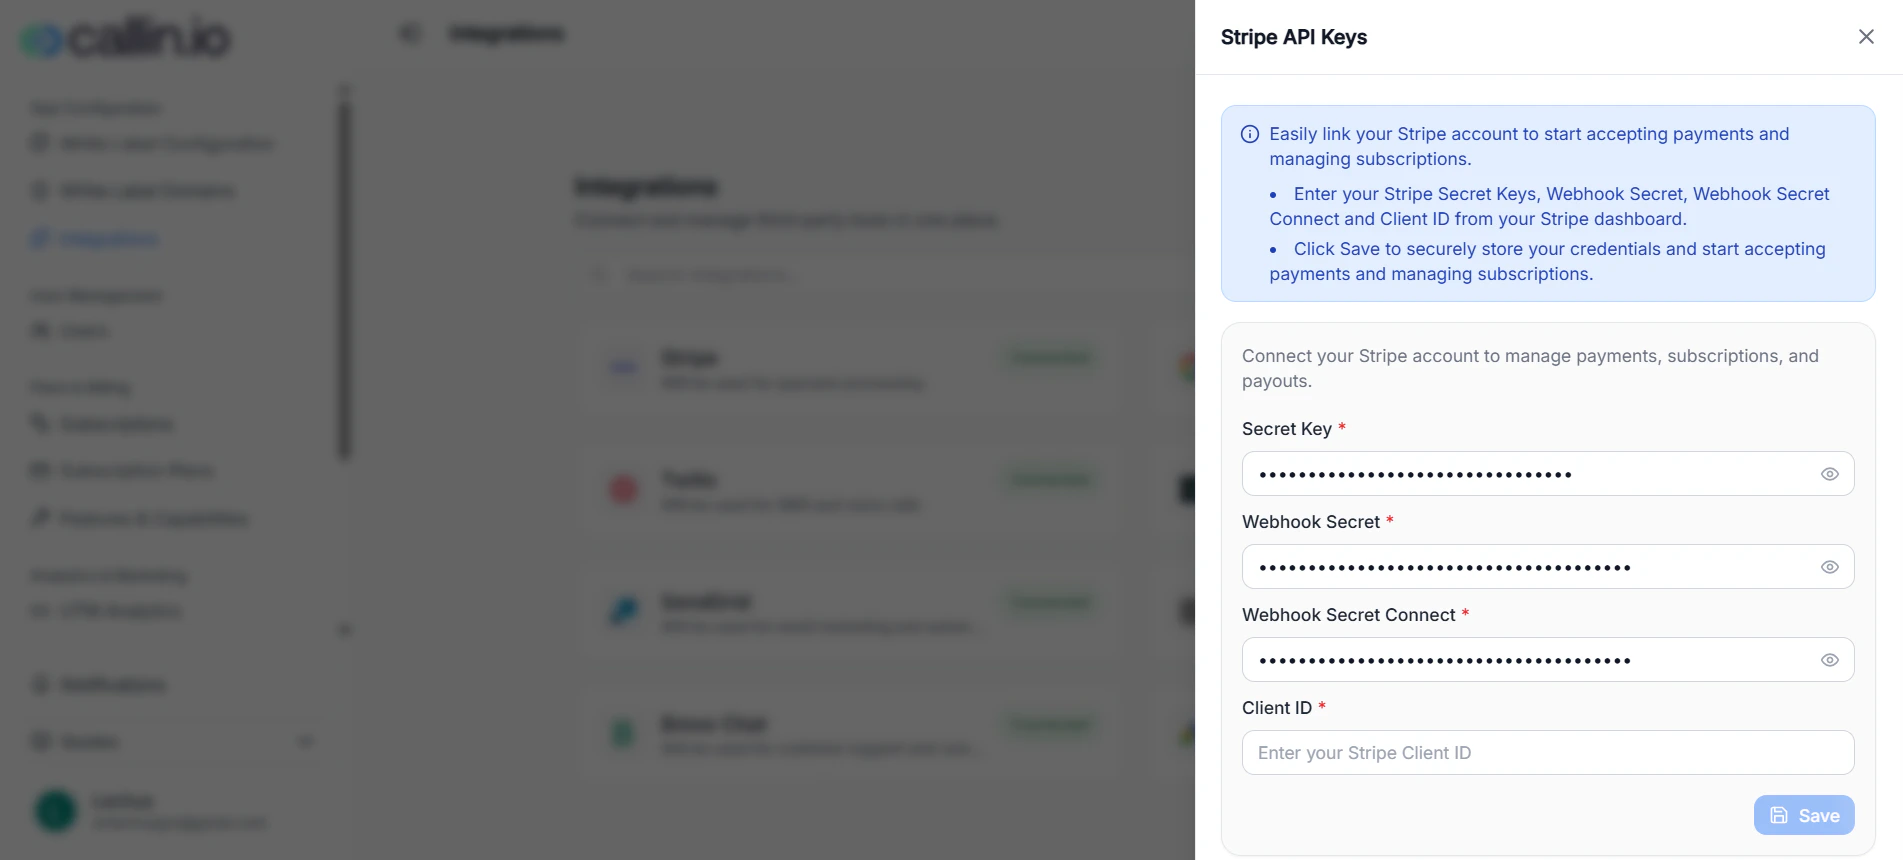
Screenshot: Stripe setup requires four values and is saved with the Save button.
### How to connect Stripe 1. Open the **Stripe** card. 2. In your Stripe dashboard, copy the required values. 3. Paste each value into the matching field in Callin. 4. Click **Save**. > **Important:** If you rotate keys or change webhook settings in Stripe later, you must come back here and update the values. ## Twilio **What it’s for:** Twilio powers **voice calls and SMS**. It’s the integration that makes calling and messaging features possible and also supports phone number management. **When you need it:** If your White Label includes inbound/outbound calls or SMS, Twilio will usually be essential—and may appear as **Required**. ### What you’ll need (as shown in the panel) * **Account SID**\* * **Auth Token**\*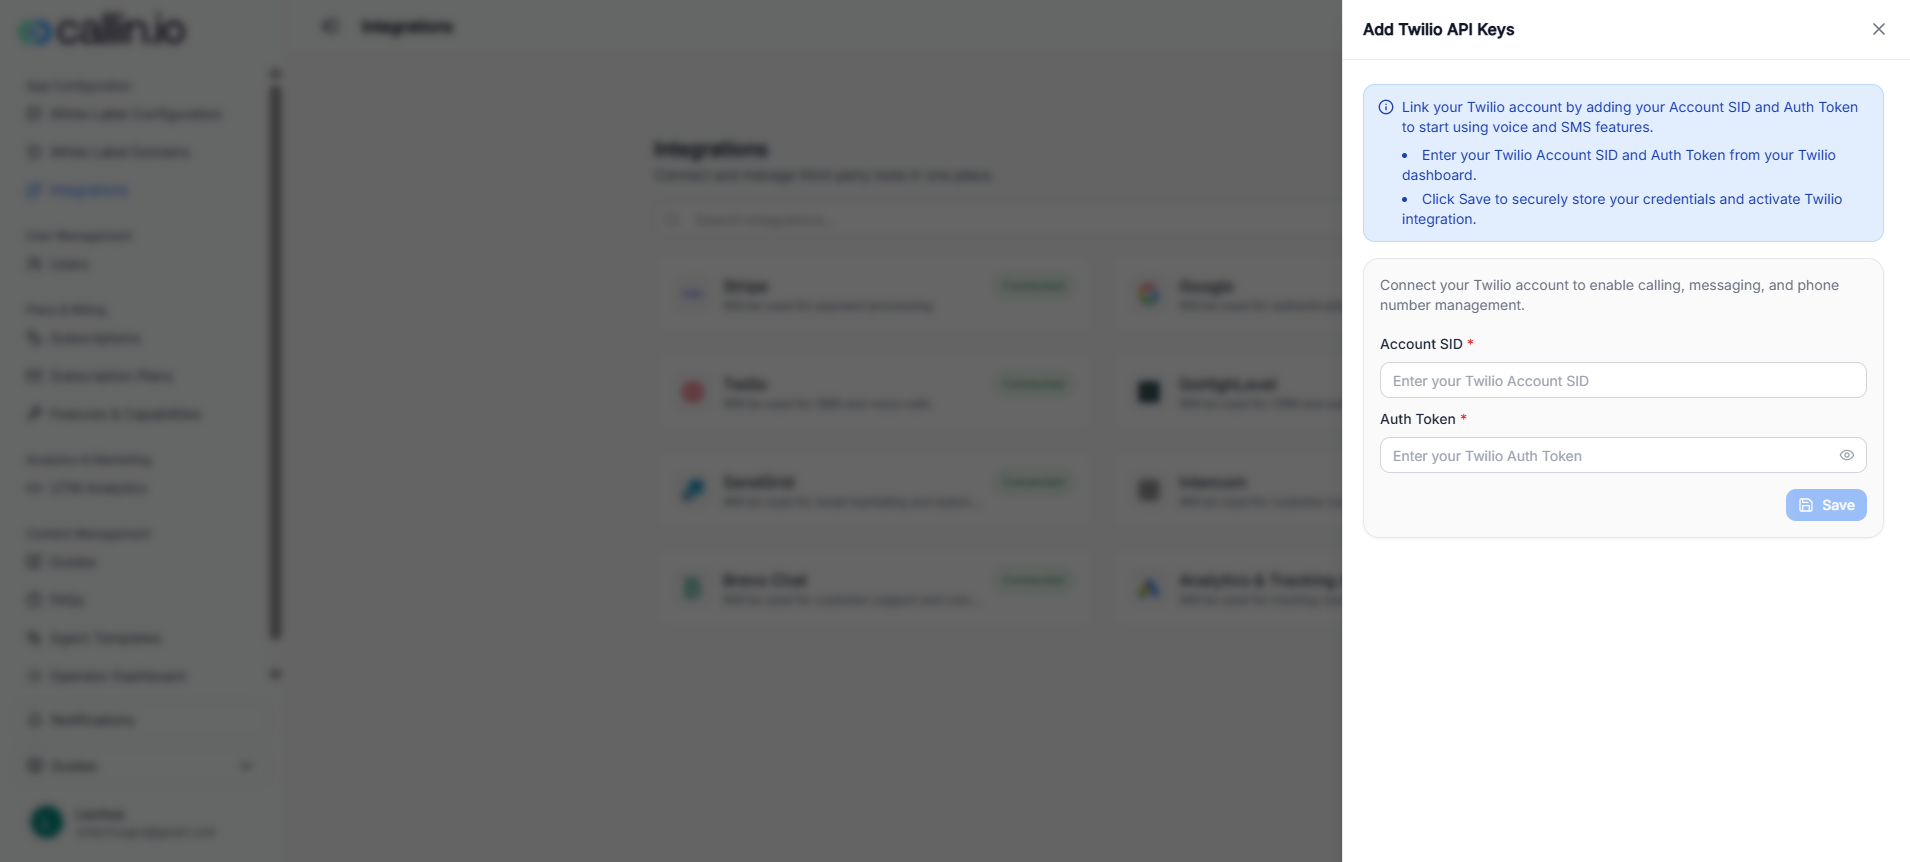
Screenshot: Twilio setup requires an Account SID and Auth Token.
### How to connect Twilio 1. Open the **Twilio** card. 2. From your Twilio dashboard, copy your **Account SID** and **Auth Token**. 3. Paste them into the corresponding fields in Callin. 4. Click **Save**. > **Tip:** If calling/SMS doesn’t work later, Twilio is the first integration to re-check. ## SendGrid **What it’s for:** SendGrid is used to **send emails** from your White Label app—especially automated and notification emails customers rely on (for example: confirmations and system messages). **When you need it:** If your customers should receive emails from your branded experience, set up SendGrid early. ### What you’ll need (as shown in the panel) * **API Key**\* * **Sender Email**\* (a verified sender email)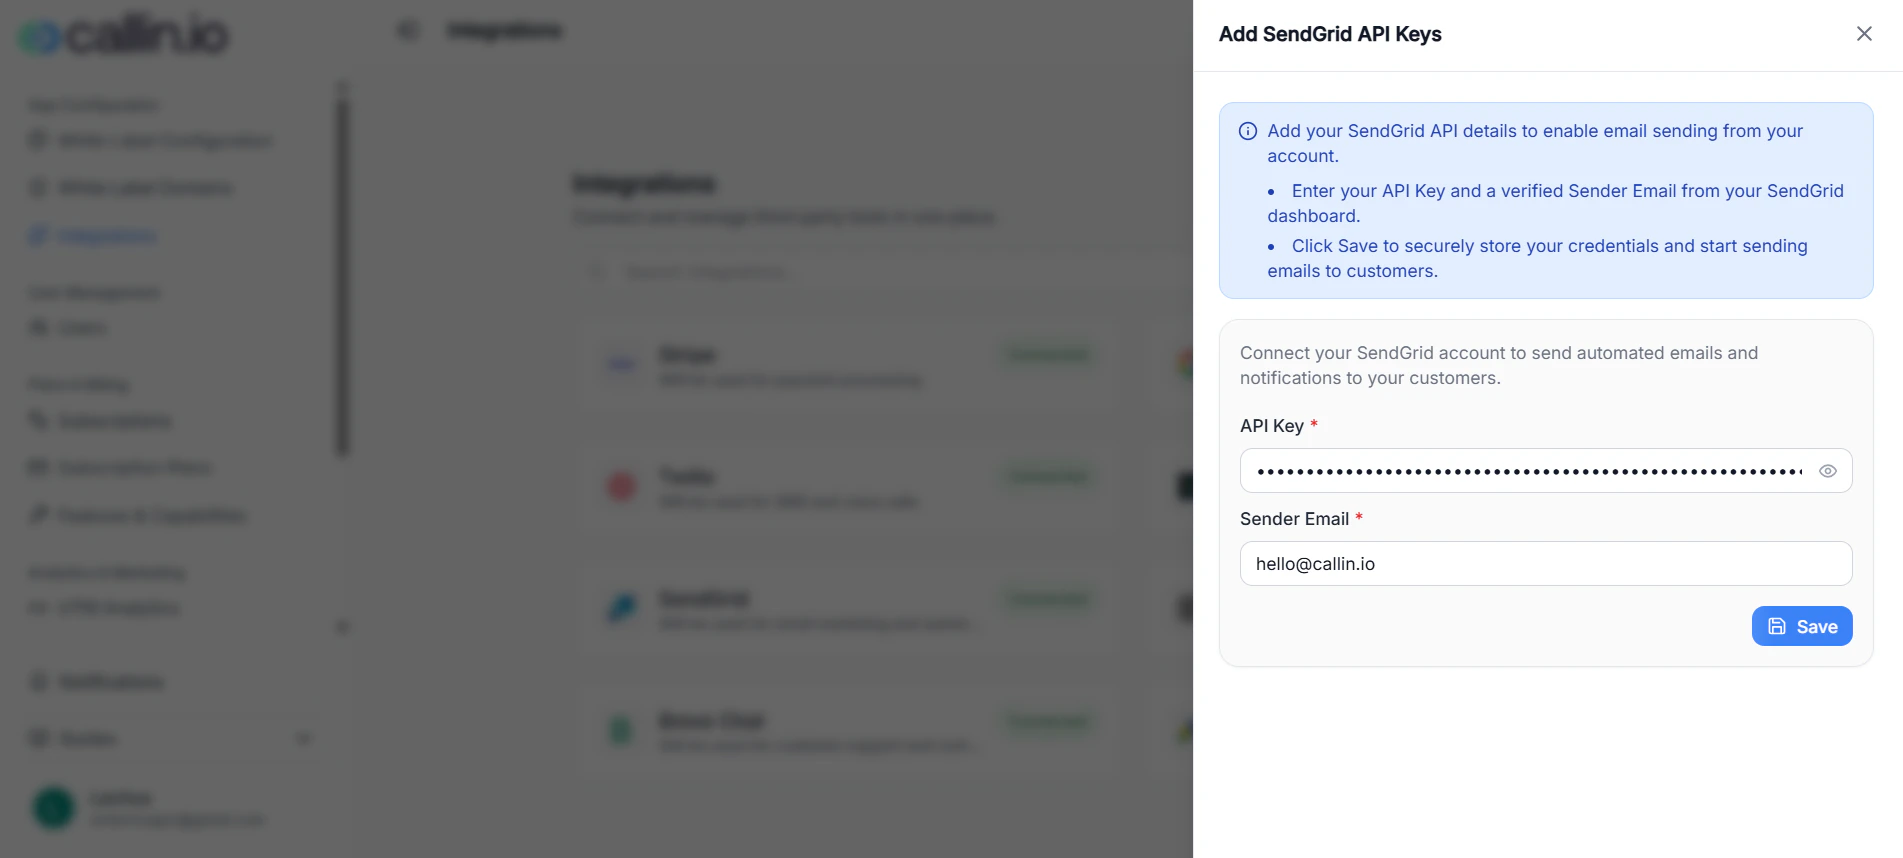
Screenshot: SendGrid setup requires an API Key and a Sender Email.
### How to connect SendGrid 1. Open the **SendGrid** card. 2. Copy your **API Key** from SendGrid. 3. Enter a **Sender Email** that is verified in SendGrid. 4. Click **Save**. > **Common mistake:** Using a sender email that isn’t verified in SendGrid. If emails don’t send, verify the sender first. ## Intercom **What it’s for:** Intercom enables **live chat and customer support** inside your app. It’s a common option when you want customers to message your team without leaving the product. **When you need it:** If support and onboarding are part of what you sell, Intercom can make your White Label feel more “product-ready.” ### What you’ll need (as shown in the panel) * **App ID**\* (from Intercom workspace settings)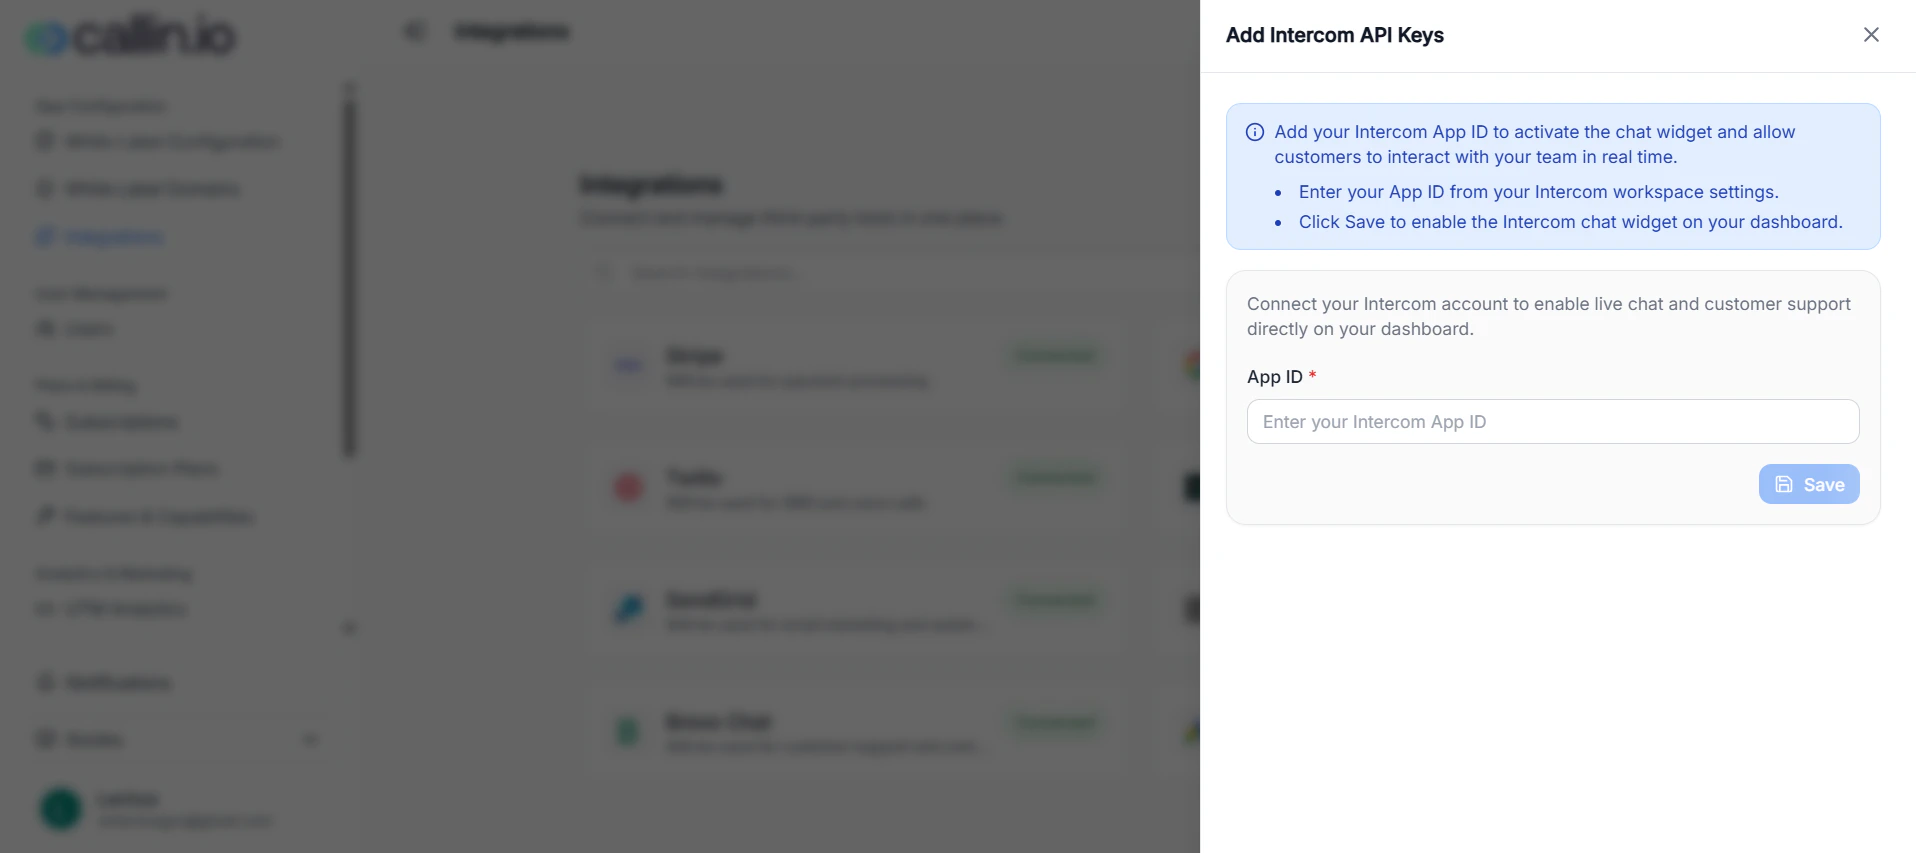
Screenshot: Intercom setup requires an App ID.
### How to connect Intercom 1. Open the **Intercom** card. 2. Find your **App ID** in your Intercom workspace settings. 3. Paste it into Callin and click **Save**. > **Tip:** Use the Intercom workspace that matches your support team. That way, customer messages go to the right place. ## Brevo Chat **What it’s for:** Brevo Chat enables a **chat widget** for real-time customer conversations. The panel references Brevo (formerly Sendinblue), and the goal is to activate chat using a widget key. **When you need it:** If you prefer a lightweight chat widget experience (instead of Intercom), Brevo Chat is an option. ### What you’ll need (as shown in the panel) * **Chat Widget Key**\* (also described as a Chat Widget Key/API Key)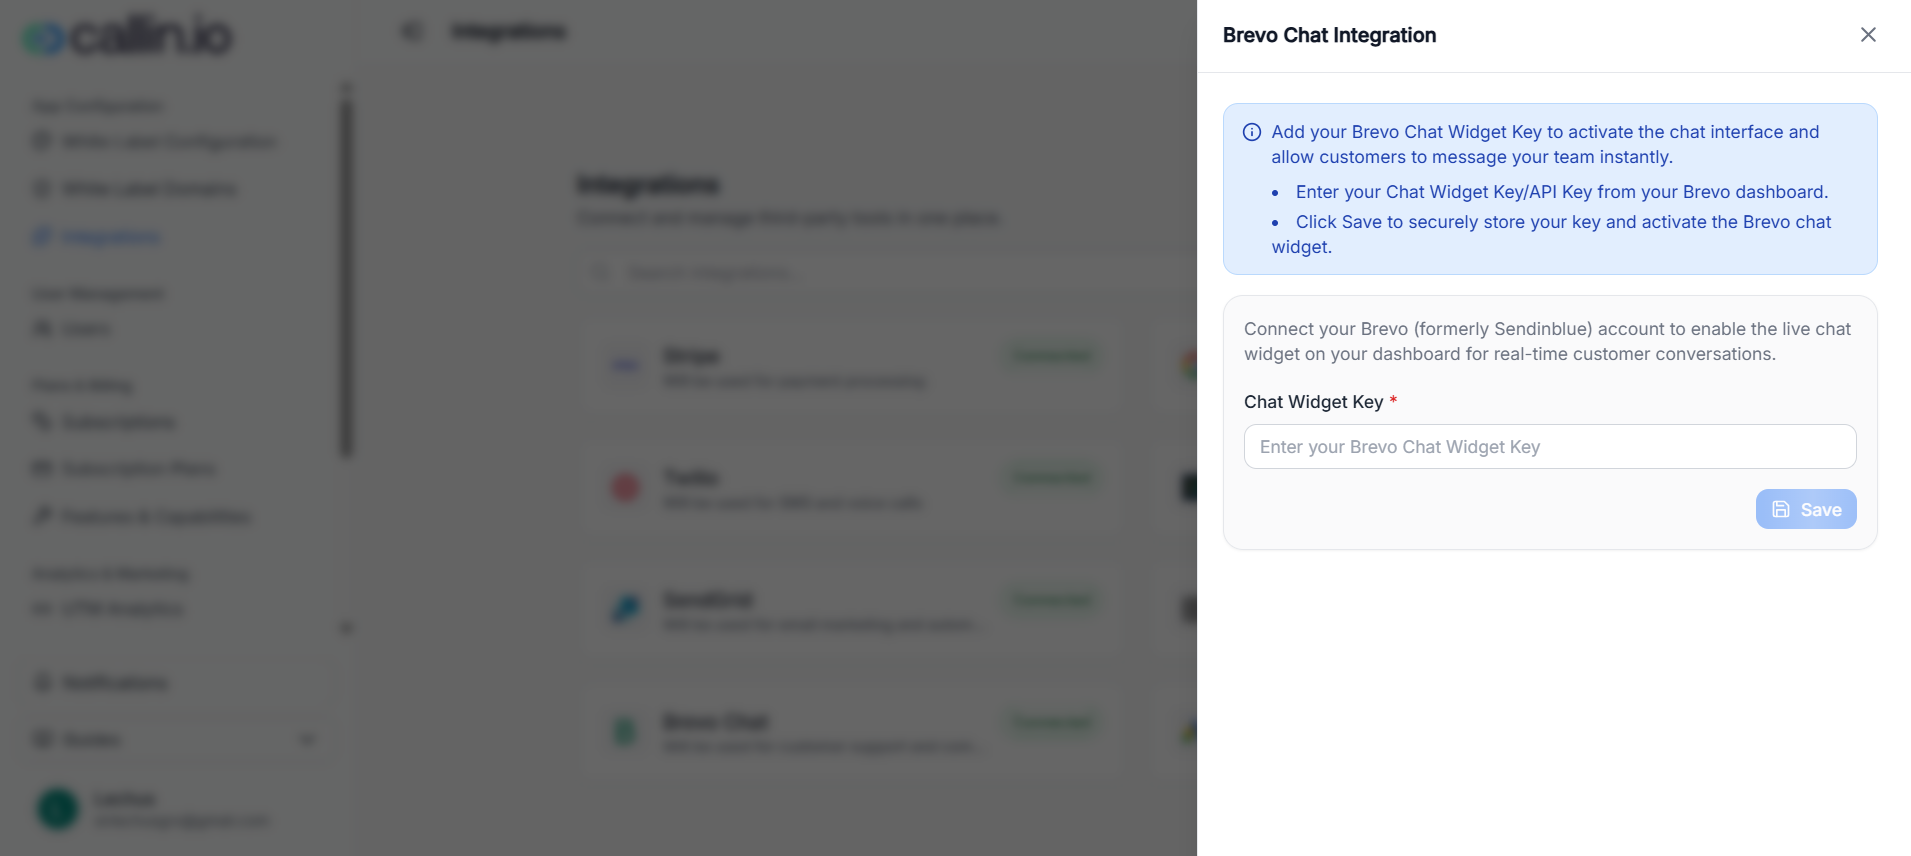
Screenshot: Brevo Chat setup requires a Chat Widget Key.
### How to connect Brevo Chat 1. Open the **Brevo Chat** card. 2. In your Brevo dashboard, copy your **Chat Widget Key** (or Chat Widget Key/API Key). 3. Paste it into Callin and click **Save**. > **Important:** Keep the widget key private. Anyone with access could potentially use it in another environment. ## Analytics & Tracking API Keys **What it’s for:** This integration connects your White Label to **marketing and analytics tracking**. Based on the setup instructions shown in the panel, it supports: * **Google Ads** tracking via a Pixel ID * **Google Analytics (GA4)** tracking via a Measurement ID **Why this matters for White Label:** If you run paid campaigns or want clean attribution, you want conversions and traffic tracked for your brand so you can measure performance and ROI. ### What you’ll need (as shown in the panel) * **Google Ads Pixel ID** (example format: `AW-123456789`) * **Google Analytics Measurement ID (GA4)** (example format: `G-XXXXXXXXXX`)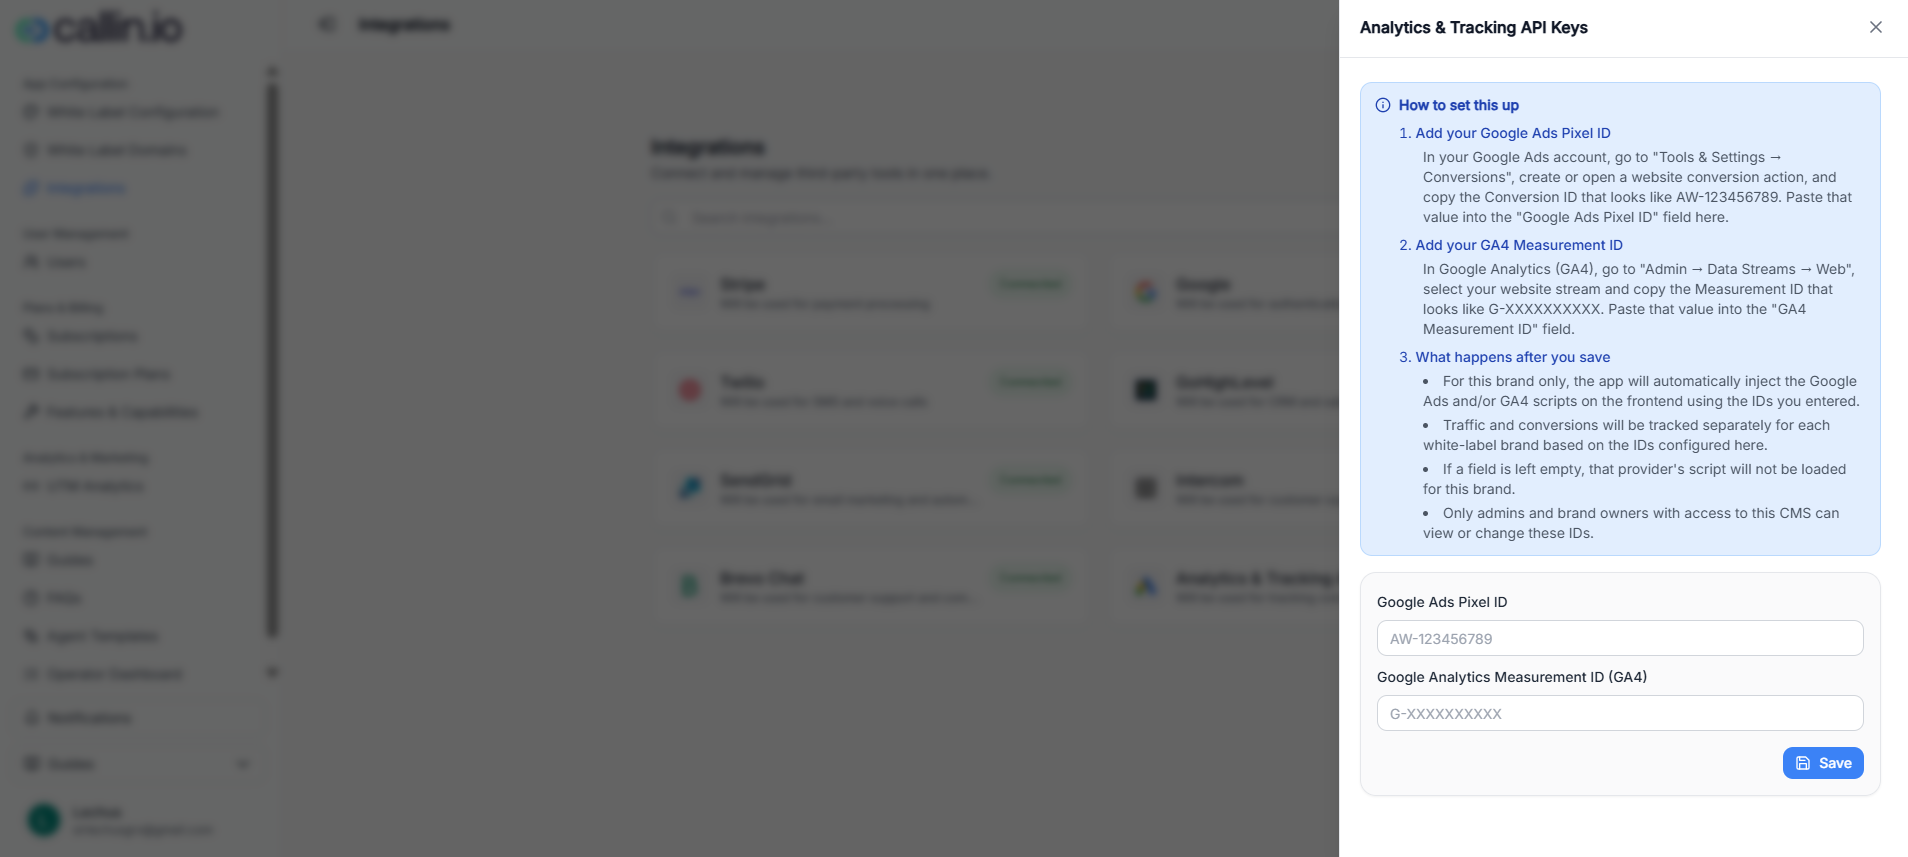
Screenshot: tracking setup where you paste your Google Ads and GA4 IDs and then save.
### How to connect tracking 1. Open **Analytics & Tracking API Keys**. 2. In Google Ads, copy your **Google Ads Pixel ID** and paste it into the matching field. 3. In Google Analytics (GA4), copy your **Measurement ID** and paste it into the GA4 field. 4. Click **Save**. ### What happens after you save (as described in the panel) * Tracking scripts can be injected using the IDs you entered (for this brand). * If a field is left empty, that provider’s script should not load for this brand. * Access to view/change these IDs is limited to users with the right level of access (as noted in the panel). > **Tip:** Keep a simple checklist for every new brand you launch: connect tracking early so you don’t lose attribution data during your first campaigns.