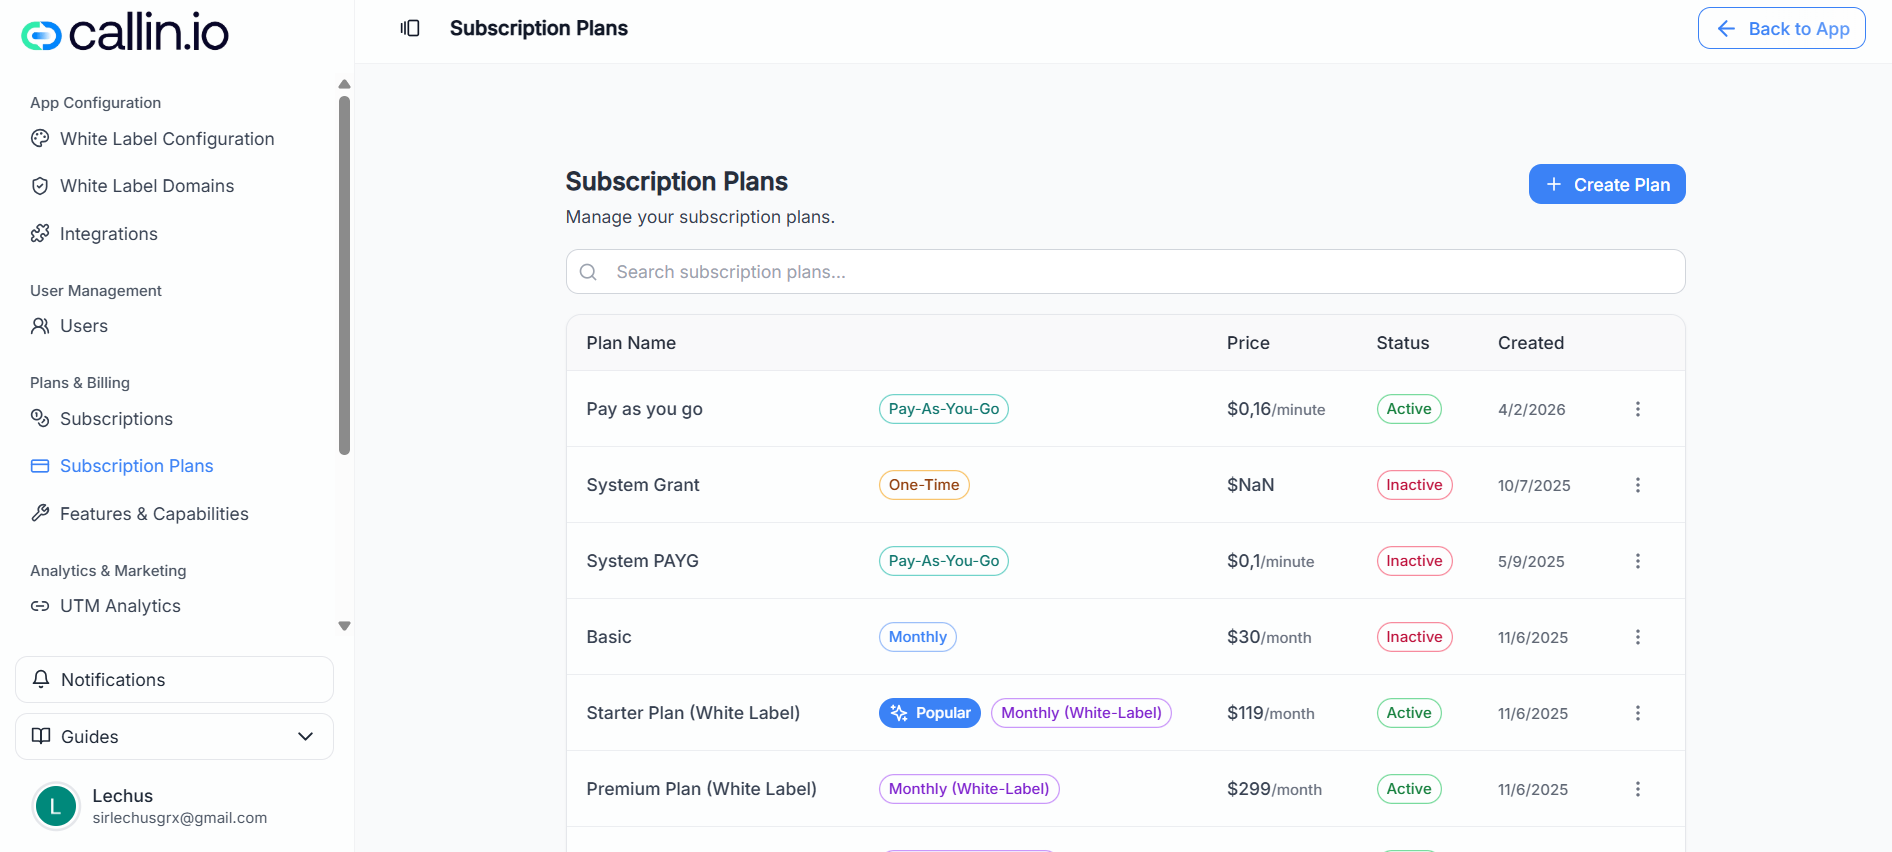
Screenshot: the Subscription Plans list, where you can search plans, create a new one, and manage existing plans from the actions menu.
## Create a new subscription plan From **Plans & Billing → Subscription Plans**, click **Create Plan**. A guided flow will walk you through the setup step by step. > **Tip:** Before creating plans, decide your tiers and pricing on paper first (e.g., “Starter: 400 minutes/month for \$300”). It makes the setup faster and avoids later changes.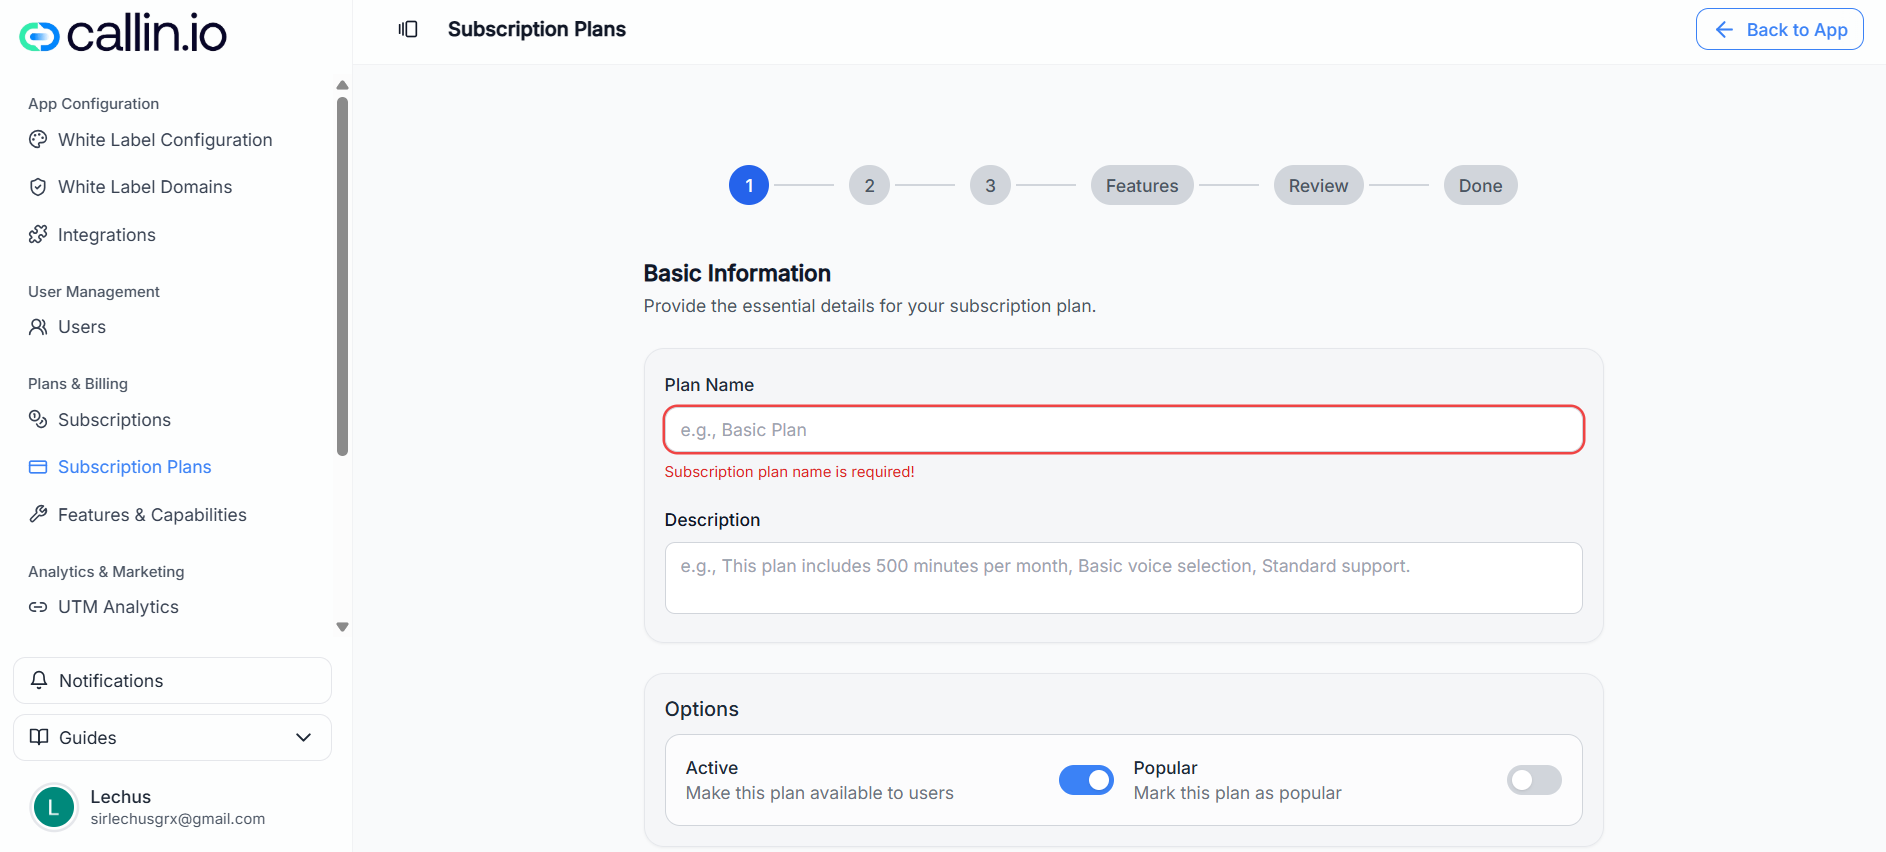
Screenshot: Step 1 of the plan creation wizard, where you name the plan, add a description, and choose whether it’s Active and/or Popular.
### Step 1: Basic information Fill in the essentials: * **Plan Name**: Required. This is what your customers will recognize (e.g., **Starter**, **Growth**, **Pro**). * **Description**: Optional but strongly recommended. Explain what’s included in plain language. * **Active**: When enabled, the plan is available to users. * **Popular**: When enabled, this plan can be highlighted as a recommended option. **Practical example** * Plan Name: **Starter** * Description: “Includes 400 minutes per month. Great for small teams who want reliable call coverage and a predictable monthly price.” * Active: **On** * Popular: **On** (only for the plan you want most people to choose) > **Common mistake:** Leaving the description empty. A short description reduces confusion and support tickets (“What’s included in this plan?”). ### Step 2: Choose a plan type Select how you want to bill: * **Monthly Subscription**: Recurring monthly billing with a set number of minutes and a fixed monthly price. * **One-Time Purchase**: A single payment for a fixed amount of minutes. * **Pay as You Go**: Pay per minute with flexible usage. > **Important:** The available plan types may vary depending on your account setup. ### Step 3: Pricing & minutes The next screen depends on the plan type. For a **Monthly Subscription**, you typically configure: * **Available Minutes per Month**: How many minutes are included every month (e.g., **400**). * **Price**: The monthly price users pay (e.g., **\$300/month**). Optional controls you may see: * **Additional Minutes**: Allow customers to purchase extra minutes beyond the included monthly minutes. * If enabled, set the **Rate per Additional Minute** (e.g., **\$0.30/min**). * **Annual Billing**: Offer yearly billing with a discount (when available in your setup). **Practical example (monthly plan)** * Included minutes: **400 minutes/month** * Monthly price: **\$300/month** * Additional minutes: **Enabled** * Additional minute rate: **\$0.30/min** This means: * A customer pays \$300 each month and gets 400 minutes. * If they use 430 minutes, the extra 30 minutes are billed at $0.30/min (30 × 0.30 = $9). ### Step 4: Configure features On the **Features** step, you assign values to the features that exist in your platform setup (often defined under **Features & Capabilities**). Depending on the feature, you might set: * A toggle (on/off) * A numeric limit * A text value **Practical example** * Feature: “Starter minutes” * Value: **400** If you don’t see many features here, it usually means only a few features have been defined for your workspace. ### Step 5: Review & create Before creating the plan, you’ll see a summary of what you configured: * Basic information (name, description, status) * Plan type * Pricing & minutes * Features Use **Edit** on any section if something looks off, then click **Create** to finish. > **Tip:** Double-check the minutes and price together. Most pricing mistakes are just a mismatch (e.g., “400 minutes” but priced like the “1000 minutes” tier). ## Edit an existing plan To edit a plan, go to the plans list, open the **three-dot** menu, and choose **Edit Plan**. Inside the editor you typically see tabs such as: * **Basic Info**: Update name, description, and toggles like Active/Popular. * **Features**: Adjust feature values for this plan. * **Pricing & Minutes**: Update included minutes, price, and additional-minute settings.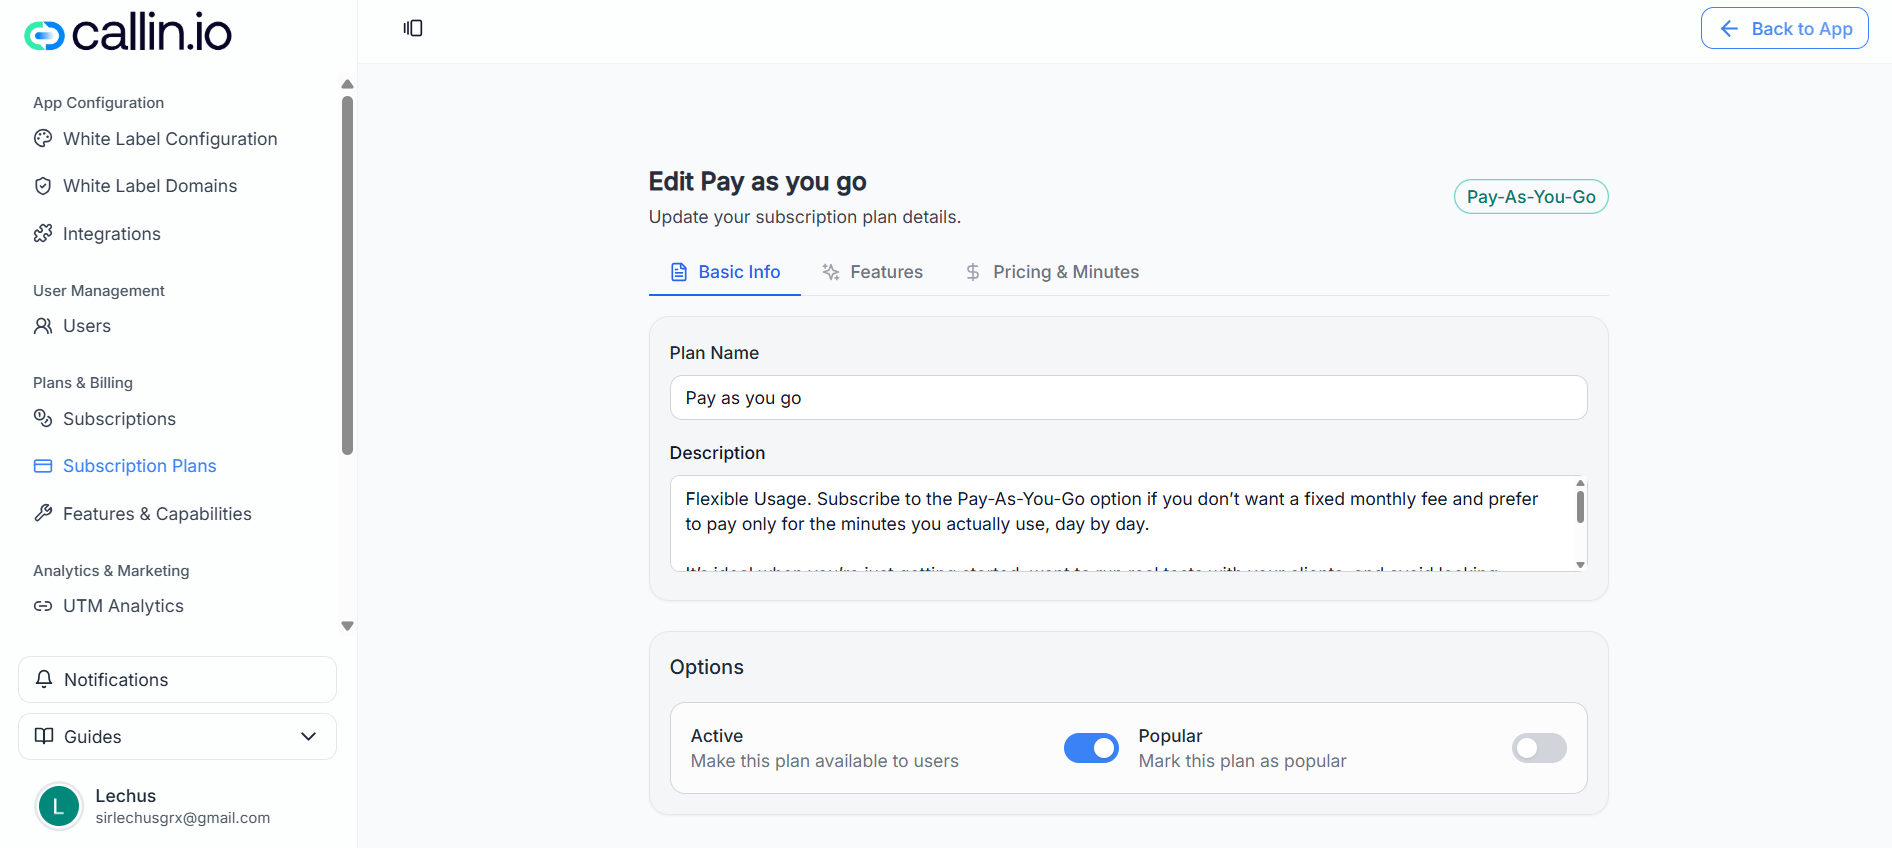
Screenshot: editing a plan’s pricing and minutes, including the notice that price changes create a new Stripe price and won’t affect existing subscribers.
> **Important:** When you change a plan’s price, the platform may create a **new price in Stripe**. Existing subscribers can continue on their current price and may not be affected by the change (behavior can vary depending on your billing setup). ## Manage plan lifecycle (Copy ID, deactivate, and search) From the plan list actions menu, you can typically: * **Copy Plan ID**: Useful for support, troubleshooting, or matching the plan inside other areas of the platform. * **Deactivate Plan**: Stops offering the plan to new users. * **Search**: Use the search bar to quickly find a plan by name. > **Common mistake:** Deactivating a plan without first creating a replacement. If you need to retire a plan, create the new plan first, then deactivate the old one so new customers don’t get stuck without options.