> ## Documentation Index
> Fetch the complete documentation index at: https://support.callin.io/llms.txt
> Use this file to discover all available pages before exploring further.
# Before you start configuring your White Label
> Understand what White Label means in Callin, where to access it from the Console, and what you can manage as an agency before you begin.
## What “White Label” means in Callin
A **White Label** in Callin is designed for teams (especially **agencies**) who want to **resell Callin’s technology under their own brand**.
Instead of sending your customers to “Callin,” you can present the experience as *your product*: your name, your domain, your look and feel, and your billing model—while Callin runs the underlying infrastructure.
> **Tip:** Think of it as “Callin on the inside, your brand on the outside.”
## Where you access White Label
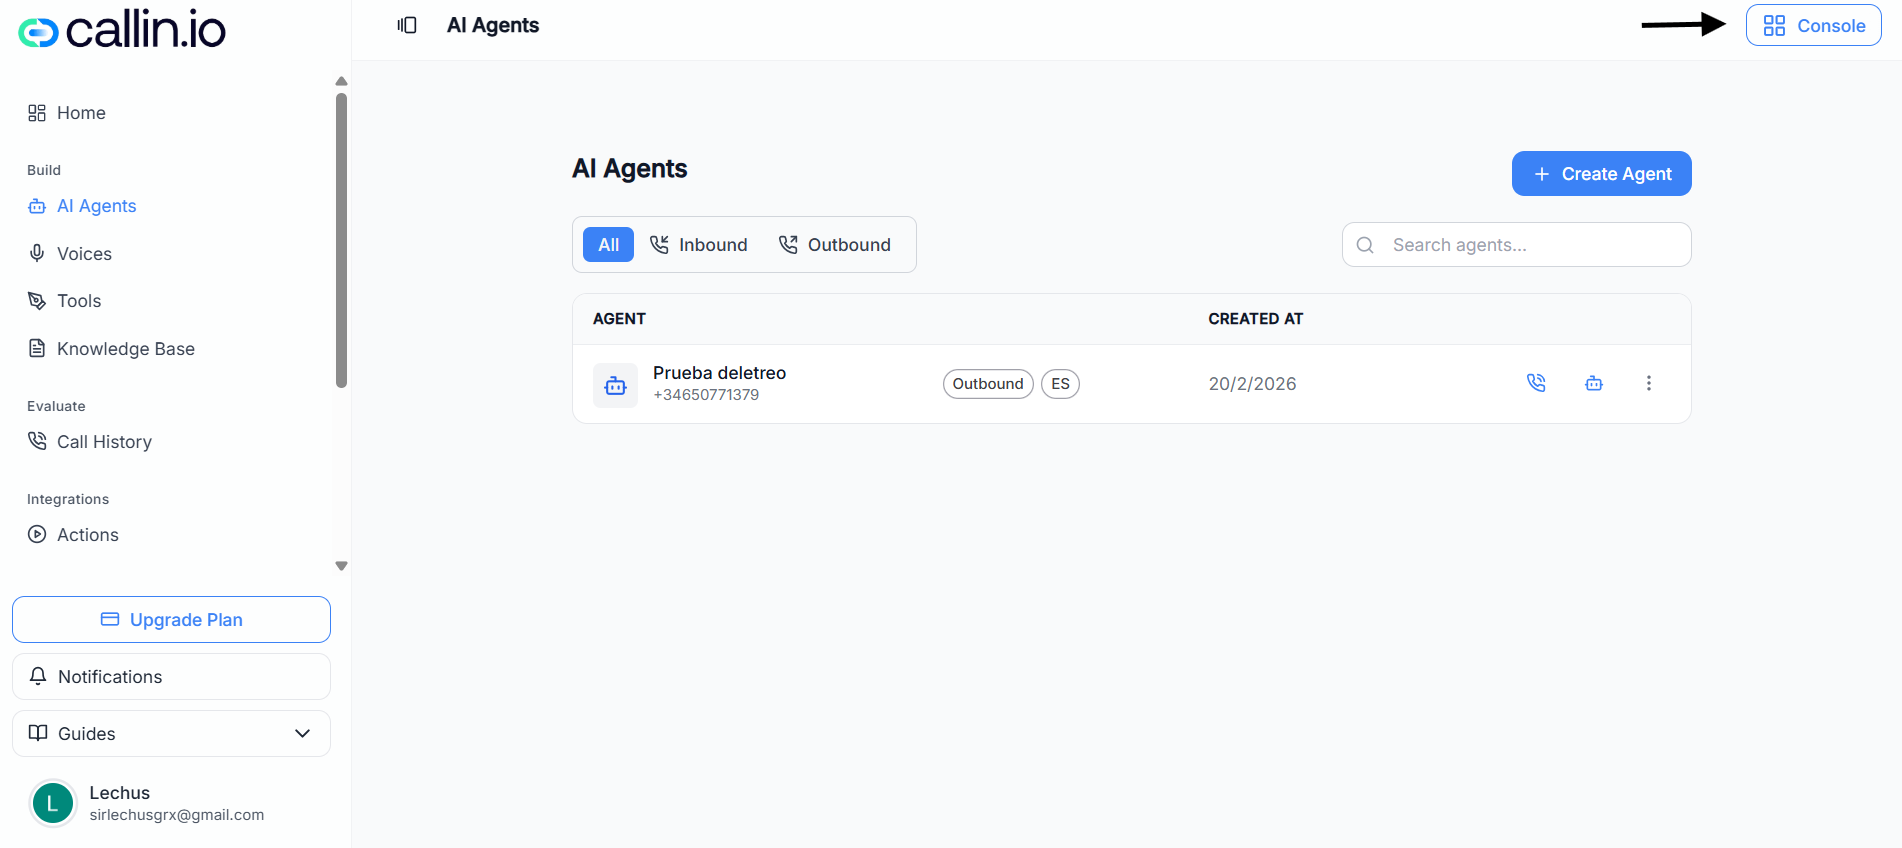
All White Label options are managed from the **Console**.
1. In the main app, click **Console** in the top-right corner.
2. Then open **White Label Configuration**.
To go, click here: [Open White Label Configuration](https://app.callin.io/cms/white-label-configuration)
Screenshot: the White Label Configuration page in the Console, where you set your app name, domain, and other customer-facing defaults.
> **Important:** Some options can vary depending on your plan and permissions.
## What you can do as an agency with White Label
White Label is built to help you operate like a product company—even if you’re an agency.
With the Console, you can:
* **Offer a branded platform** to your customers (your name and presentation, not “Callin”).
* **Use your own domain** so customers feel like they’re inside your ecosystem.
* **Create subscription plans** you sell to customers (for example, “Starter,” “Pro,” “Enterprise”).
* **Charge customers through Stripe** (when connected) so billing happens under your workflow.
* **Manage customers and team members** from one place, without juggling multiple tools.
### A realistic example
Imagine you run an agency called **Northwind Voice Studio**. You want to sell an “AI receptionist” product to local clinics.
* Your customer sees the platform branded as **Northwind Reception**.
* They access it through a domain like **app.northwindreception.com**.
* You sell them a **monthly plan** you created in the Console.
* Payments run through **Stripe**, and you manage the customer’s access from **Users**.
## A quick tour of what’s configurable in the Console
Below is a high-level overview of the areas you’ll typically use when running White Label.
### White Label Configuration
This is where you define the customer-facing basics of your branded app.
* **App Name**: the name shown in areas like navigation and page titles.
* **Custom Domain**: the domain/subdomain your customers will use to access the app (DNS setup is handled via the **DNS Configuration** action).
* **Currency**: used for prices and billing display.
* **App Language**: the default language of the app for your customer experience.
* **Appearance tab**: lets you adjust the visual presentation (available options may vary by account/plan).
### Integrations
Integrations let your White Label setup connect to essential third-party services.
In the Console you may see integrations such as:
* **Stripe** (payments)
* **Twilio** (SMS and voice calling; sometimes marked as required)
* **SendGrid** (email sending/automation)
* **Intercom**, **Brevo Chat** (customer communication)
* **Analytics & Tracking API Keys** (tracking and attribution)
> **Tip:** If billing is part of your business model, connect Stripe early so you can test your full customer flow.
### Users
This is your customer and team management area.
From here you can typically:
* Search and review users
* Create new users
* Manage access and status
### Subscriptions
This area is where you **view and manage customer subscriptions**.\
It helps you understand who is subscribed and what plan they’re on (depending on your setup and integrations).
### Subscription Plans
This is where you create and manage the plans you sell.
Typical plan elements you’ll see include:
* Plan name
* Billing cadence (for example, monthly)
* Price
* Status (active/inactive)
### UTM Analytics
UTM Analytics helps you understand **marketing attribution**—for example, which sources or campaigns drove signups.
You can typically:
* Filter by date range
* Export results (for example as CSV)
* Review breakdowns like source and campaign (when data exists)
## Recommended setup order (so you don’t miss anything)
When launching a White Label for the first time, this order keeps things smooth:
1. Set your **App Name**, **Currency**, and **App Language** in **White Label Configuration**.
2. Add your **Custom Domain** and complete the **DNS Configuration**.
3. Connect critical **Integrations** (especially Stripe if you will bill customers).
4. Create your **Subscription Plans**.
5. Add/manage customers and teammates in **Users**.
6. Monitor adoption and channels in **UTM Analytics**.