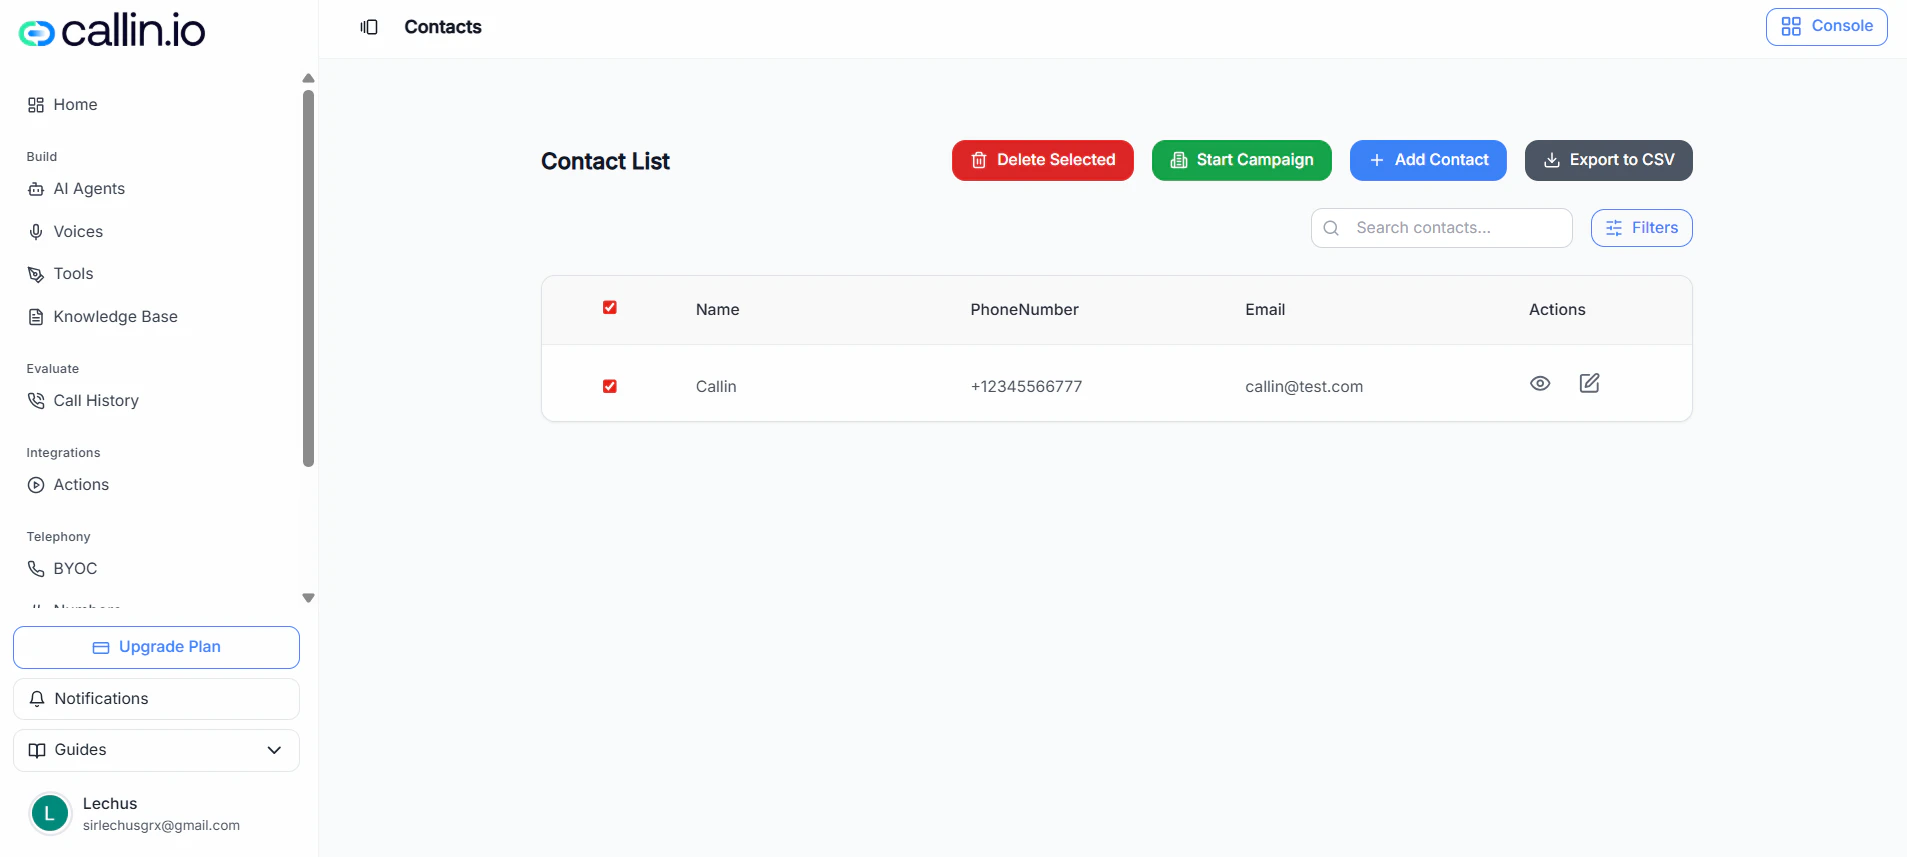
Screenshot: The Contacts page where you can add/import contacts and manage your list.
## Add contacts manually Manual entry is best when you’re adding a few contacts quickly (or pasting from a spreadsheet). ### Steps 1. Click **Add Contact**. 2. Fill in the fields you need: * **Name** (optional) * **Phone Number** (required) * **Email** (optional) 3. Add more people by adding more rows (if available in your modal). > **Important:** **Phone Number is required** for every contact. ### Editing tips (like a spreadsheet) In the add-contacts grid you can usually: * Click and drag to select multiple cells * Copy and paste values into the grid * Double-click a cell to edit * Press **Enter** to add a new row * Press **Esc** to clear selection > **Tip:** If your contacts are already in Google Sheets/Excel, copy the cells and paste them directly into the grid. ### Optional columns You may see an **Add Column** button in the modal. This lets you include extra fields if your workspace supports them. > **Important:** Available columns can vary by account or plan. ## Import contacts from a CSV CSV import is best for larger lists. ### Upload requirements * **File type:** CSV only * **Max size:** 10MB * You can upload by selecting a file or dragging and dropping it. > **Common mistake:** Uploading an .xlsx file. Export it as **CSV** first. ### Upload a CSV 1. Click **Upload CSV**. 2. (Optional) Click **Download Template** to start from the recommended format. 3. Upload your CSV by clicking **Select File** or dragging the file into the upload area.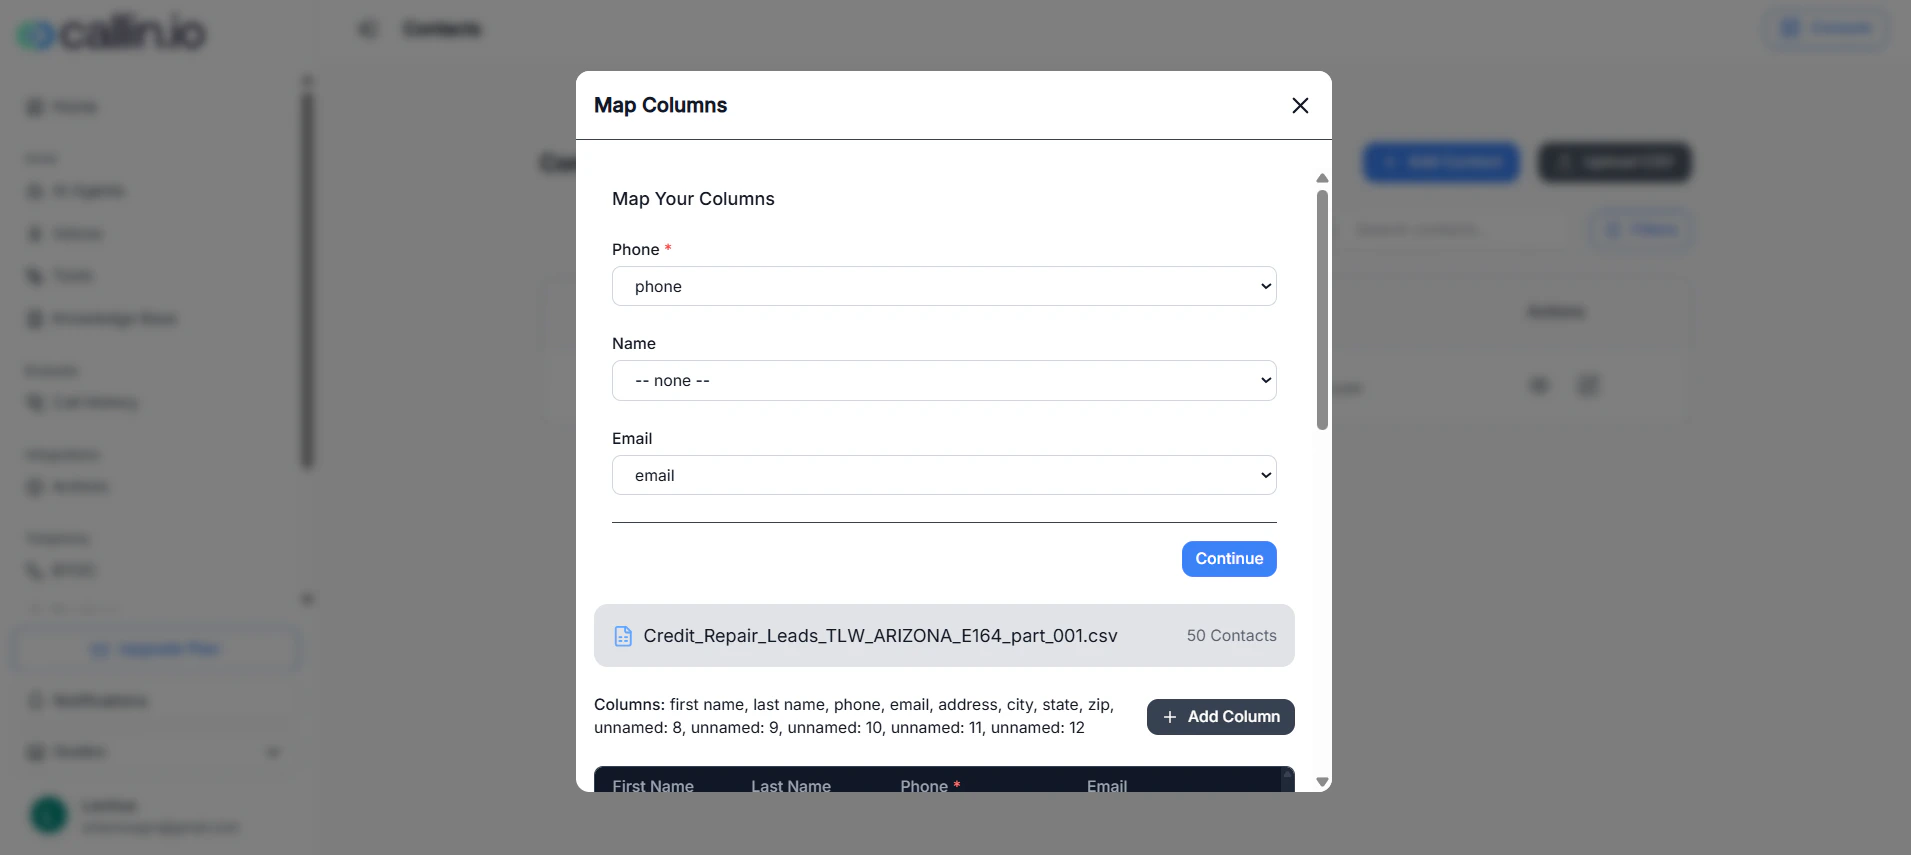
Screenshot: CSV upload modal, including the CSV-only requirement and the 10MB limit.
### Map your columns After upload, you’ll map your CSV headers to the fields Callin will import. * **Phone** (required) * **Name** (optional) * **Email** (optional) > **Important:** If **Phone** is not mapped, the import can’t continue. ### Validation rules (applies to manual + CSV) * Phone numbers must include a **country code** (example: **+1234567890**) * Phone numbers must be **7–15 digits** (excluding country code) * Phone numbers are **required** for all contacts * Email addresses must be **valid** if provided * Fields with validation errors are highlighted with a **red border** * Empty fields are highlighted with a **red border** > **Tip:** If your CSV has phone numbers without country codes, add the country code before importing to avoid validation errors. ## Manage your contact list ### Search and filters * Use **Search contacts…** to find people by name, phone, or email. * Click **Filters** to narrow down your list. > **Important:** Filter options can vary by account or plan. ### View and edit In the **Actions** column, you can typically: * **View** contact details * **Edit** the contact ### Export to CSV Click **Export to CSV** to download your current contacts list. ## Start a campaign from Contacts 1. Select one or more contacts using the checkboxes. 2. Click **Start Campaign**. 3. Enter a **campaign name** and **select an agent**. 4. (Optional) Enable **Follow-up Calls**. When enabled, follow-ups are scheduled for each contact after an **unanswered** or **busy** call: * After **2 hours** * After **1 day** * After **3 days** > **Tip:** If you’re testing, start with a small selection (5–10 contacts) to confirm your agent and script behave as expected. ## Delete selected contacts (permanent) 1. Select the contacts you want to remove. 2. Click **Delete Selected**. 3. Confirm the deletion (you may need to type **DELETE**). > **Important:** This is a **permanent action** and cannot be undone.