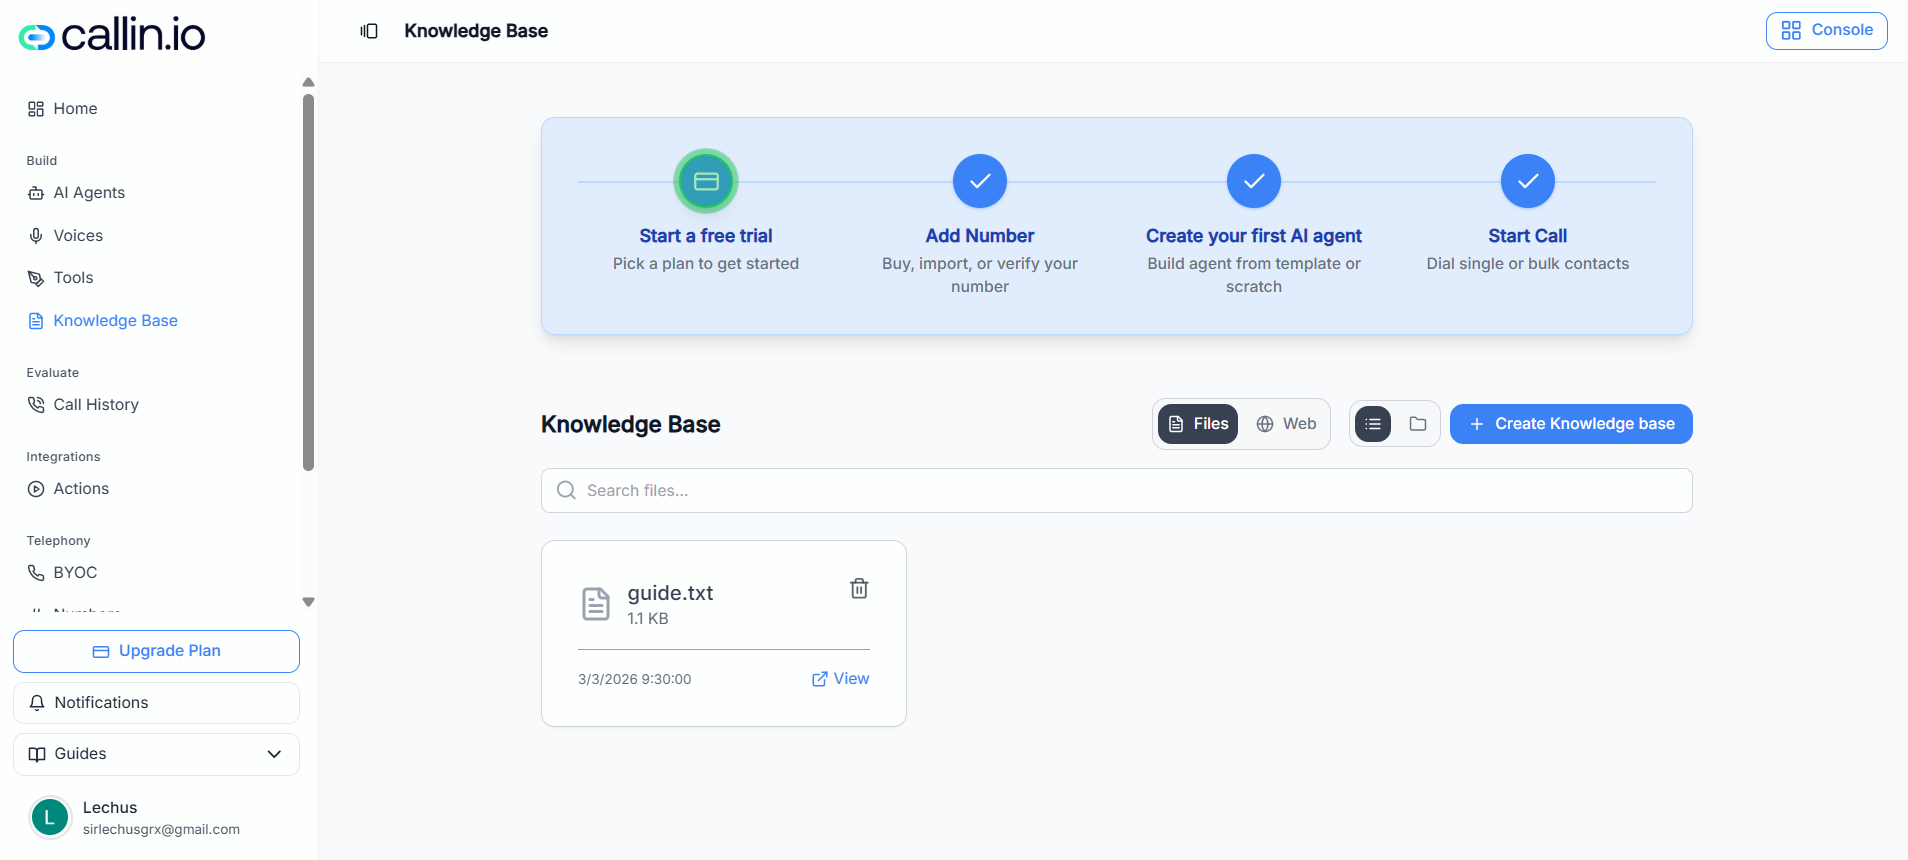
Screenshot: The Knowledge Base in Files mode, where you upload documents and organize them into groups.
### Create a file group and upload documents 1. Open the **Files** tab. 2. Click **Create Knowledge base**. 3. In the upload modal, enter a **Group Name** (required). 4. Add your documents: * Drag and drop files into the upload area, or * Click **Select Files** to browse. 5. Click **Upload Files** to finish. Supported formats and limits (as shown in the uploader): * PDF, DOC, DOCX, TXT * Max 5MB per file > **Common mistake:** Uploading multiple unrelated documents into one group. If you have different use cases (Sales vs. Support), create separate groups so you can attach the right knowledge to each agent. ### Manage and update files in a group After a group exists, you can open it to manage what’s inside: * Add more documents (for example, using **Add New Files**). * See a list of **Current Files** already included. * Remove files you no longer want the agent to reference. > **Tip:** Use clear group names like **“Support Policies”**, **“Pricing & Plans”**, or **“Clinic Intake Script”** so it’s easy to select the correct group later. ## Web URLs Knowledge Base The **Web** tab is for teaching your agent from web pages. You create a **URL group**, give it a title, and add one or more URLs. This is useful when your source of truth lives on your website (help center, docs, policy pages, landing pages).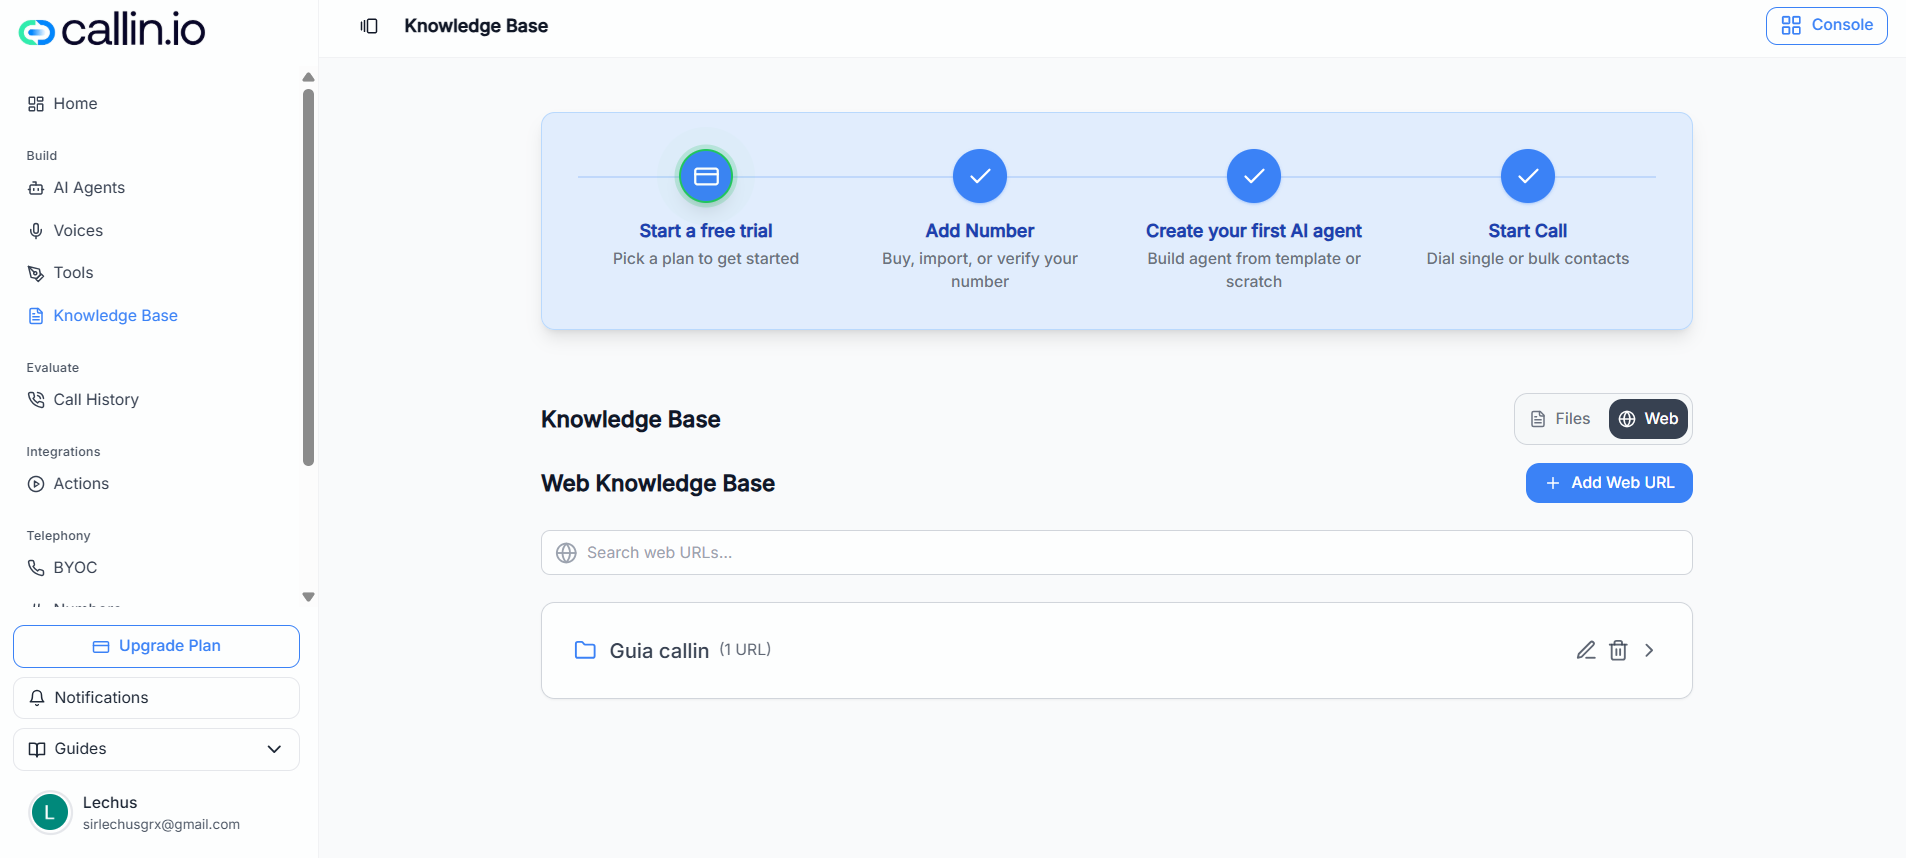
Screenshot: The Knowledge Base in Web mode, where you add and manage groups of website URLs.
### Create a URL group 1. Open the **Web** tab. 2. Click **Add Web URL**. 3. Fill in: * **Title** (required): the name of the URL group (this title is used for all URLs in the group). * **URL #1**: paste the first webpage link. 4. (Optional) Click **Add Another URL** to include more pages. 5. Click **Add URL** to save the group. > **Tip:** Keep URL groups focused. For example, make one group for **“Pricing & Billing”** URLs and a different group for **“Refund Policy”** URLs. ### Edit or delete a URL group Once a URL group is created, you can manage it from the list: * **Edit** the group title and URLs. * **Delete** the group if you no longer need it. * Open the group to see what’s included. Inside the edit modal, you can: * Update the **Title** * Add or remove individual URLs * Click **Save** to apply changes > **Important:** If you change URLs and need an existing agent to use the updated content, you may need to re-open the agent editor and apply an **Update** in the Knowledge Base section (this can vary depending on your account/plan). ## Select a Knowledge Base for an agent After you’ve created your groups (Files or Web URLs), you attach one to an agent during agent editing.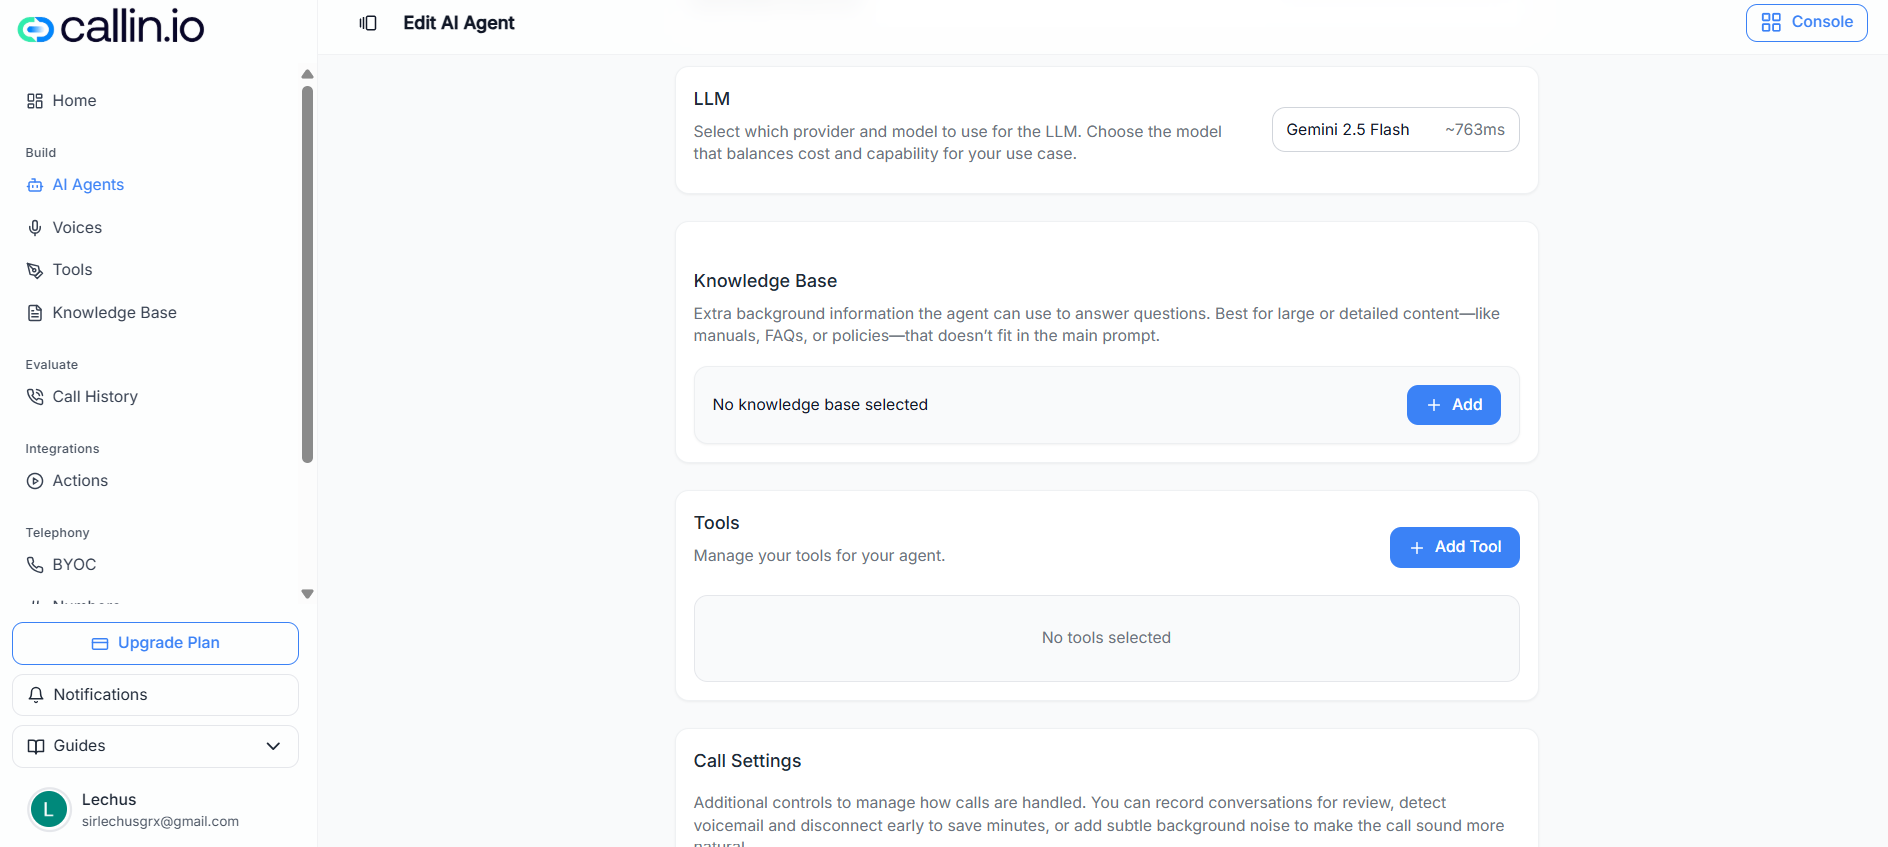
Screenshot: Selecting a Knowledge Base group while editing an AI agent (choose Files or Web URLs, then select a group).
### Attach a group to an agent 1. Go to **AI Agents** and open an agent to edit. 2. Find the **Knowledge Base** section. 3. Click **Add**. 4. Choose the **Source**: * **Files**, or * **Web URLs** 5. Select a **Group** (for example: “Support Policies” or “Company Website Docs”). 6. Click **Select** to attach it to the agent. You may also see a **Refresh** option to reload the list of groups. > **Tip:** If you have multiple agents with different roles, give each agent a different Knowledge Base group so they stay focused and don’t answer outside their scope. ## Practical example Let’s say you run a dental clinic and you have two agents: * **Front Desk Agent** (appointments, opening hours, directions) * **Billing Agent** (pricing, invoices, insurance questions) A good setup could be: * Files group: **“Clinic FAQs (TXT)”** for quick answers and scripts * Web URLs group: **“Pricing & Insurance Pages”** pointing to your public website pages Then: * The **Front Desk Agent** gets the FAQs group. * The **Billing Agent** gets the Pricing & Insurance URLs group.