Open the Voices page
The Voices section is where you manage how your agents sound. From here, you can:- Browse the Voice Library (ready-to-use voices)
- Preview voices before using them
- Assign a voice to a specific agent
- Clone a voice (so your agent can speak with a custom voice)
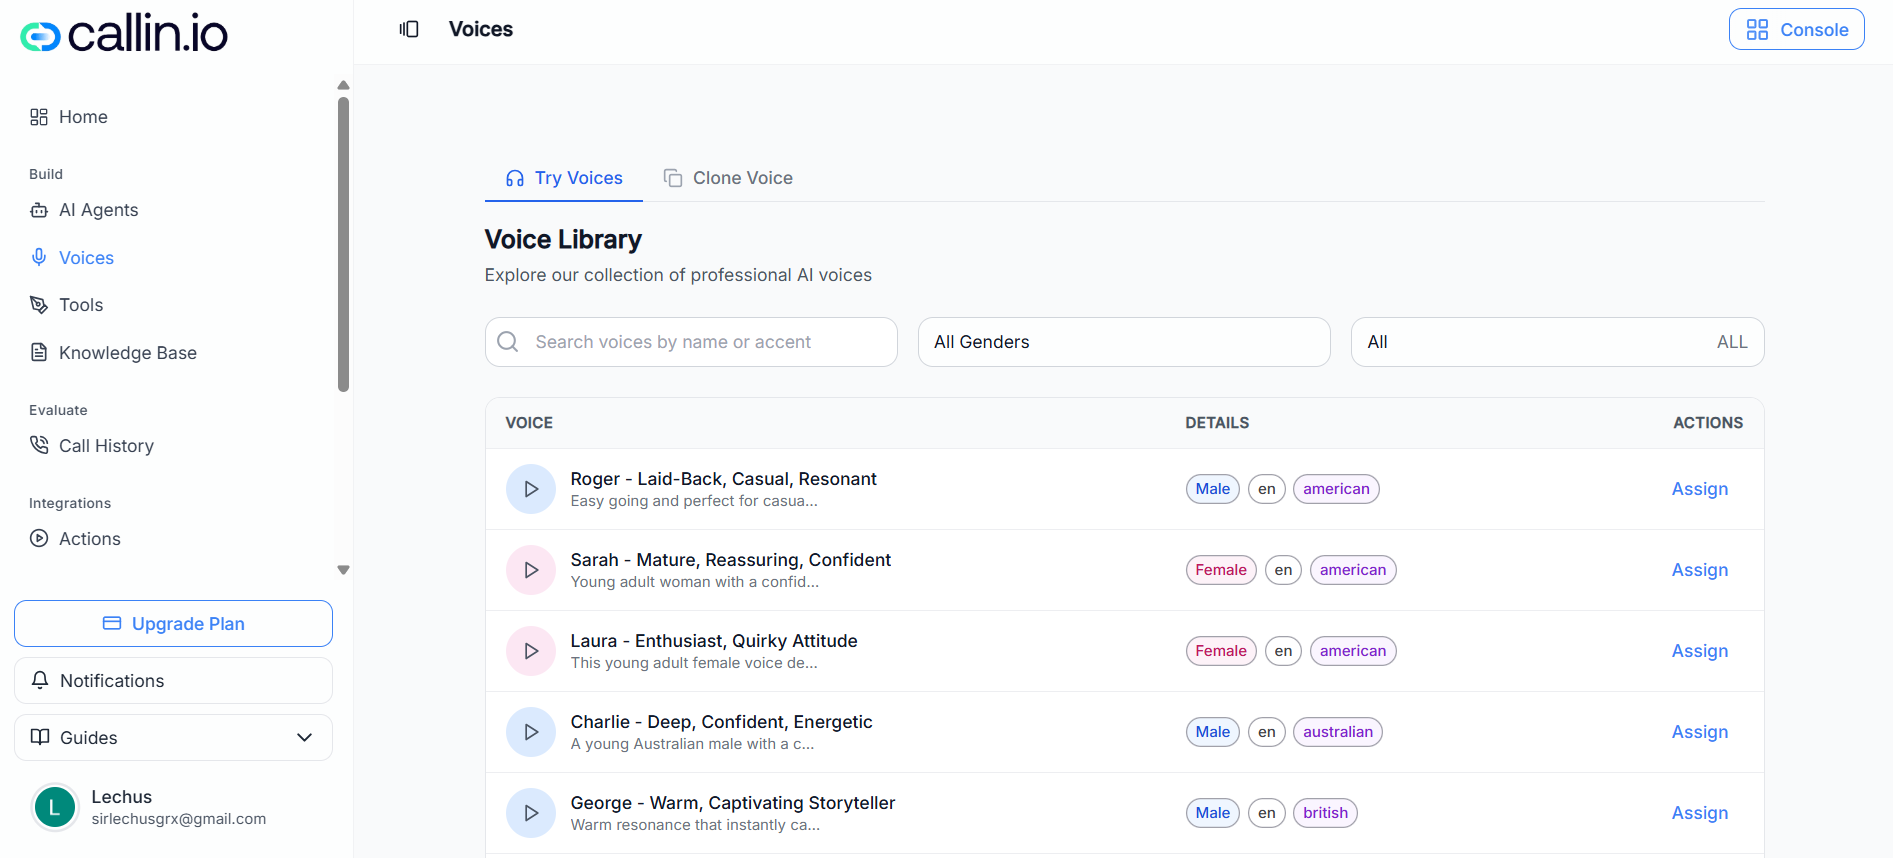
Screenshot: The Voices page where you can preview voices in the library and switch to the Clone Voice tab to create a custom voice.
Browse and preview voices (Try Voices)
By default, you’ll land on Try Voices. This is the Voice Library, where each row includes:- A Play button to preview the voice
- The voice name plus a short style description (for example: “laid-back”, “reassuring”, “energetic”)
- Details tags like gender, language, and accent (for example: Male, en, american)
- An Assign action on the right to use that voice with an agent
- The search bar (search by name or accent)
- Filters such as gender and other available dropdowns (options can vary by account/plan)
Tip: When previewing voices, use the same short script each time so it’s easy to compare. Example: “Hi! This is Maya from Lakeside Dental. I’m calling to confirm your appointment for Thursday at 3 PM.”
Assign a voice to an agent
To make an agent speak with a specific voice:- In Try Voices, find the voice you want.
- Click Assign on the right side of that voice.
- In the Assign Voice to Agent window, select the agent you want to update.
- Click Assign to confirm.
Important: You can change a voice later by assigning a different one. Voice assignment is typically set per agent (not global).
Clone a voice (Clone Voice)
If you want a more custom sound (for a brand voice or a specific persona), use Clone Voice.- Open the Clone Voice tab.
- Click Clone Voice.
- In the form (shown as a “Voice Preview” window), fill in:
- Voice Name (required)
- Description (optional)
- Language (required)
- Gender (required)
- Add a Voice Sample (required) using one of the options shown:
- Upload Audio
- Record Voice
- Follow the on-screen steps to submit your sample. Once your cloned voice is created, it will appear under Your Cloned Voices and can be assigned like any other voice.
Common mistake: Uploading a clip that’s too short or has background noise. Your clone will sound noticeably worse if the sample isn’t clean.
Voice cloning guidelines and best practices
When recording or uploading your sample, follow these guidelines:- Record in a quiet environment with minimal background noise
- Speak clearly at a natural pace
- For uploaded files, provide at least 30 seconds of continuous speech
- Maximum file size is 4MB
- Supported languages include: English, Italian, French, German, Portuguese, Spanish, Dutch, Arabic, and Hindi
Important: Only upload audio you have permission to use (for example, your own voice or a voice you’re licensed to use).